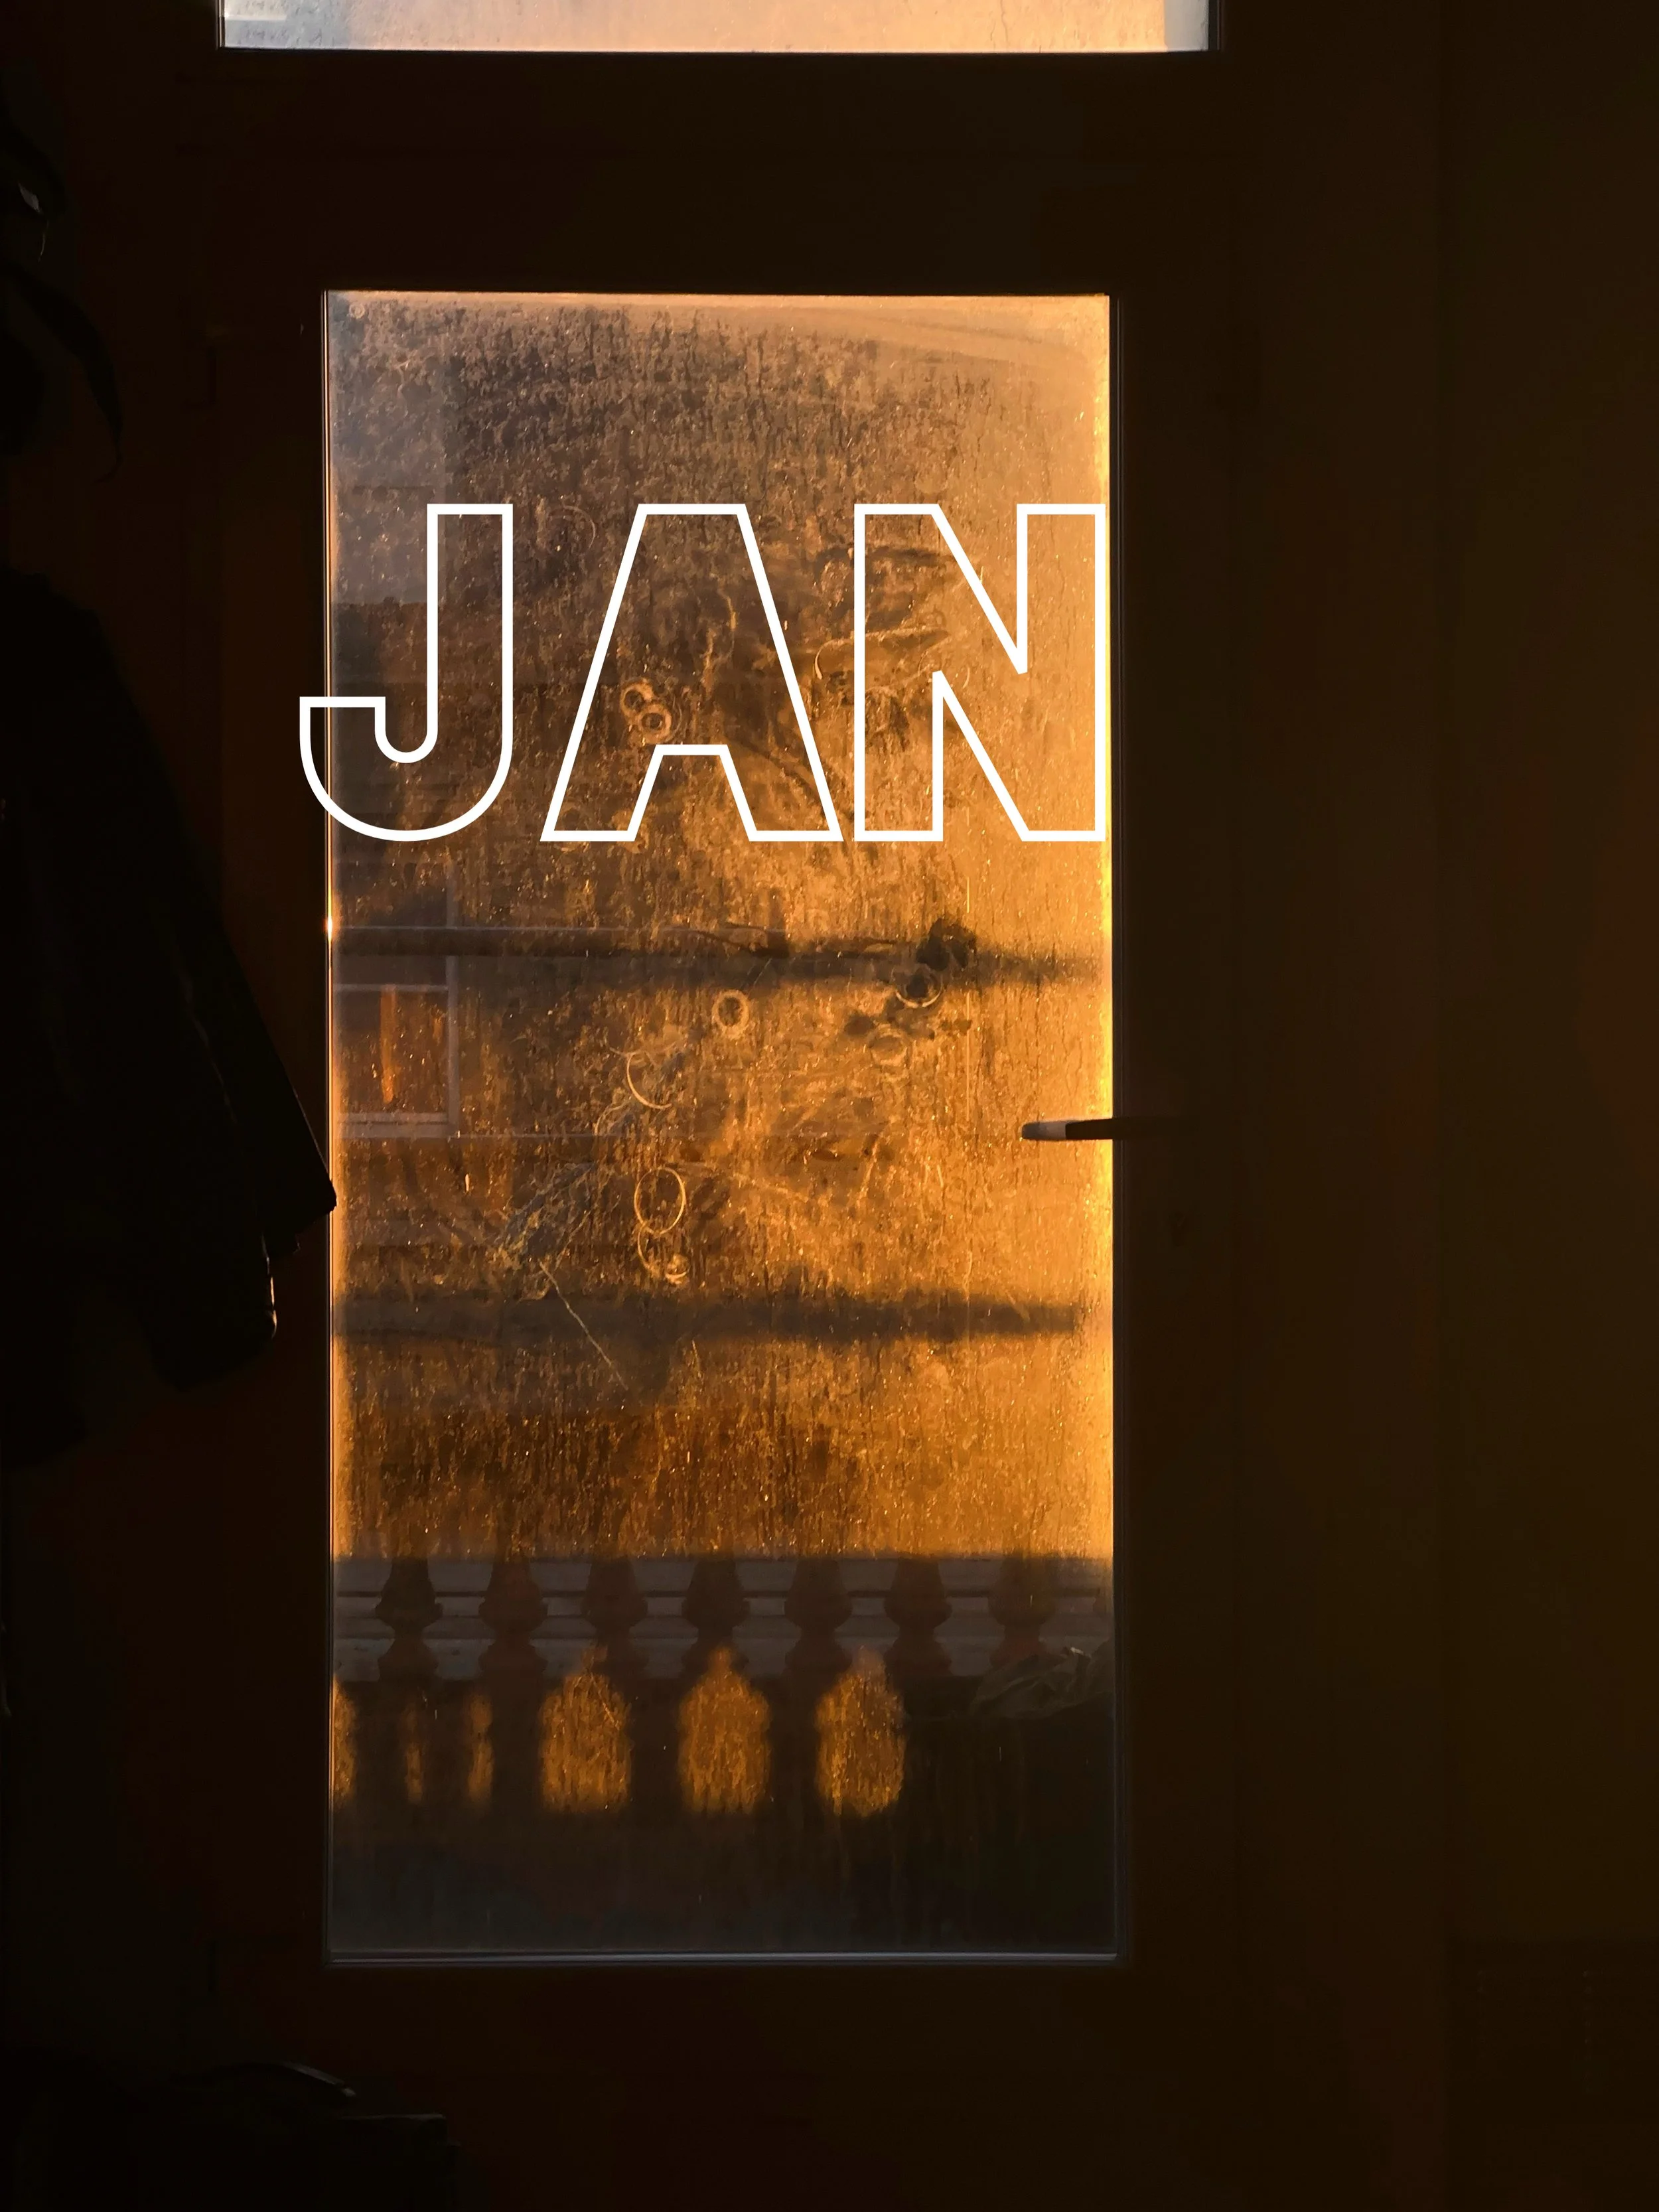
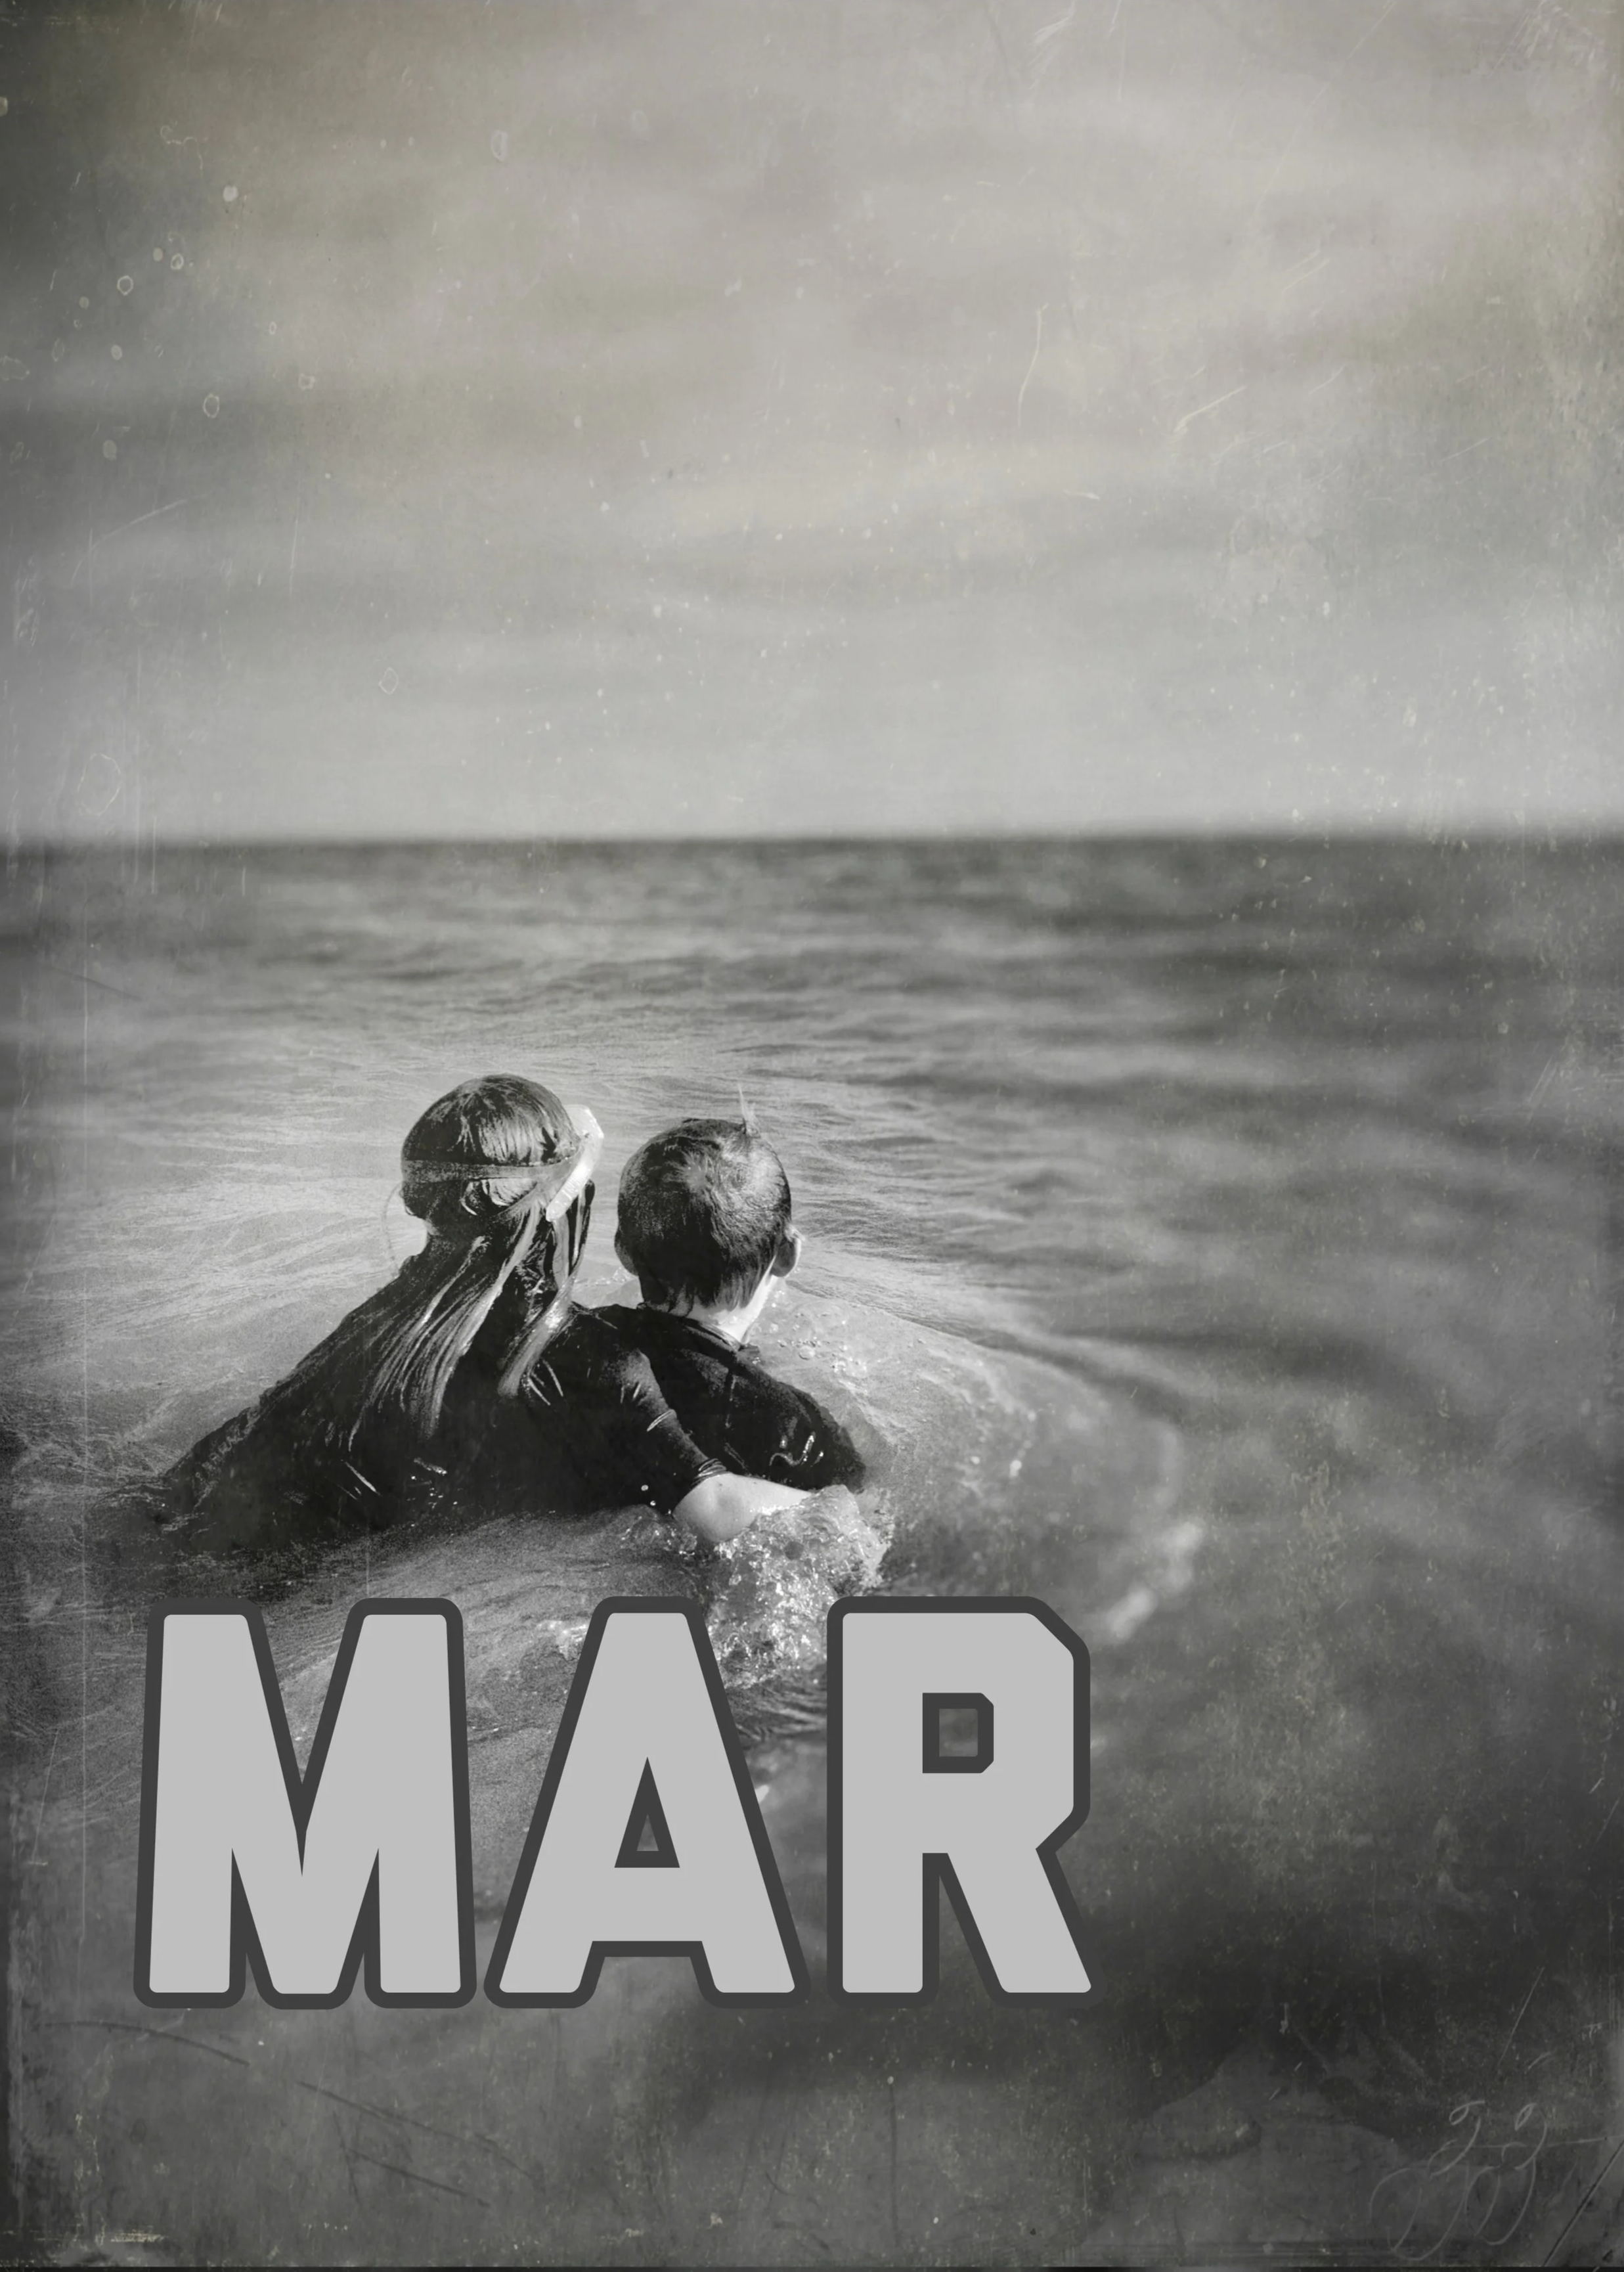
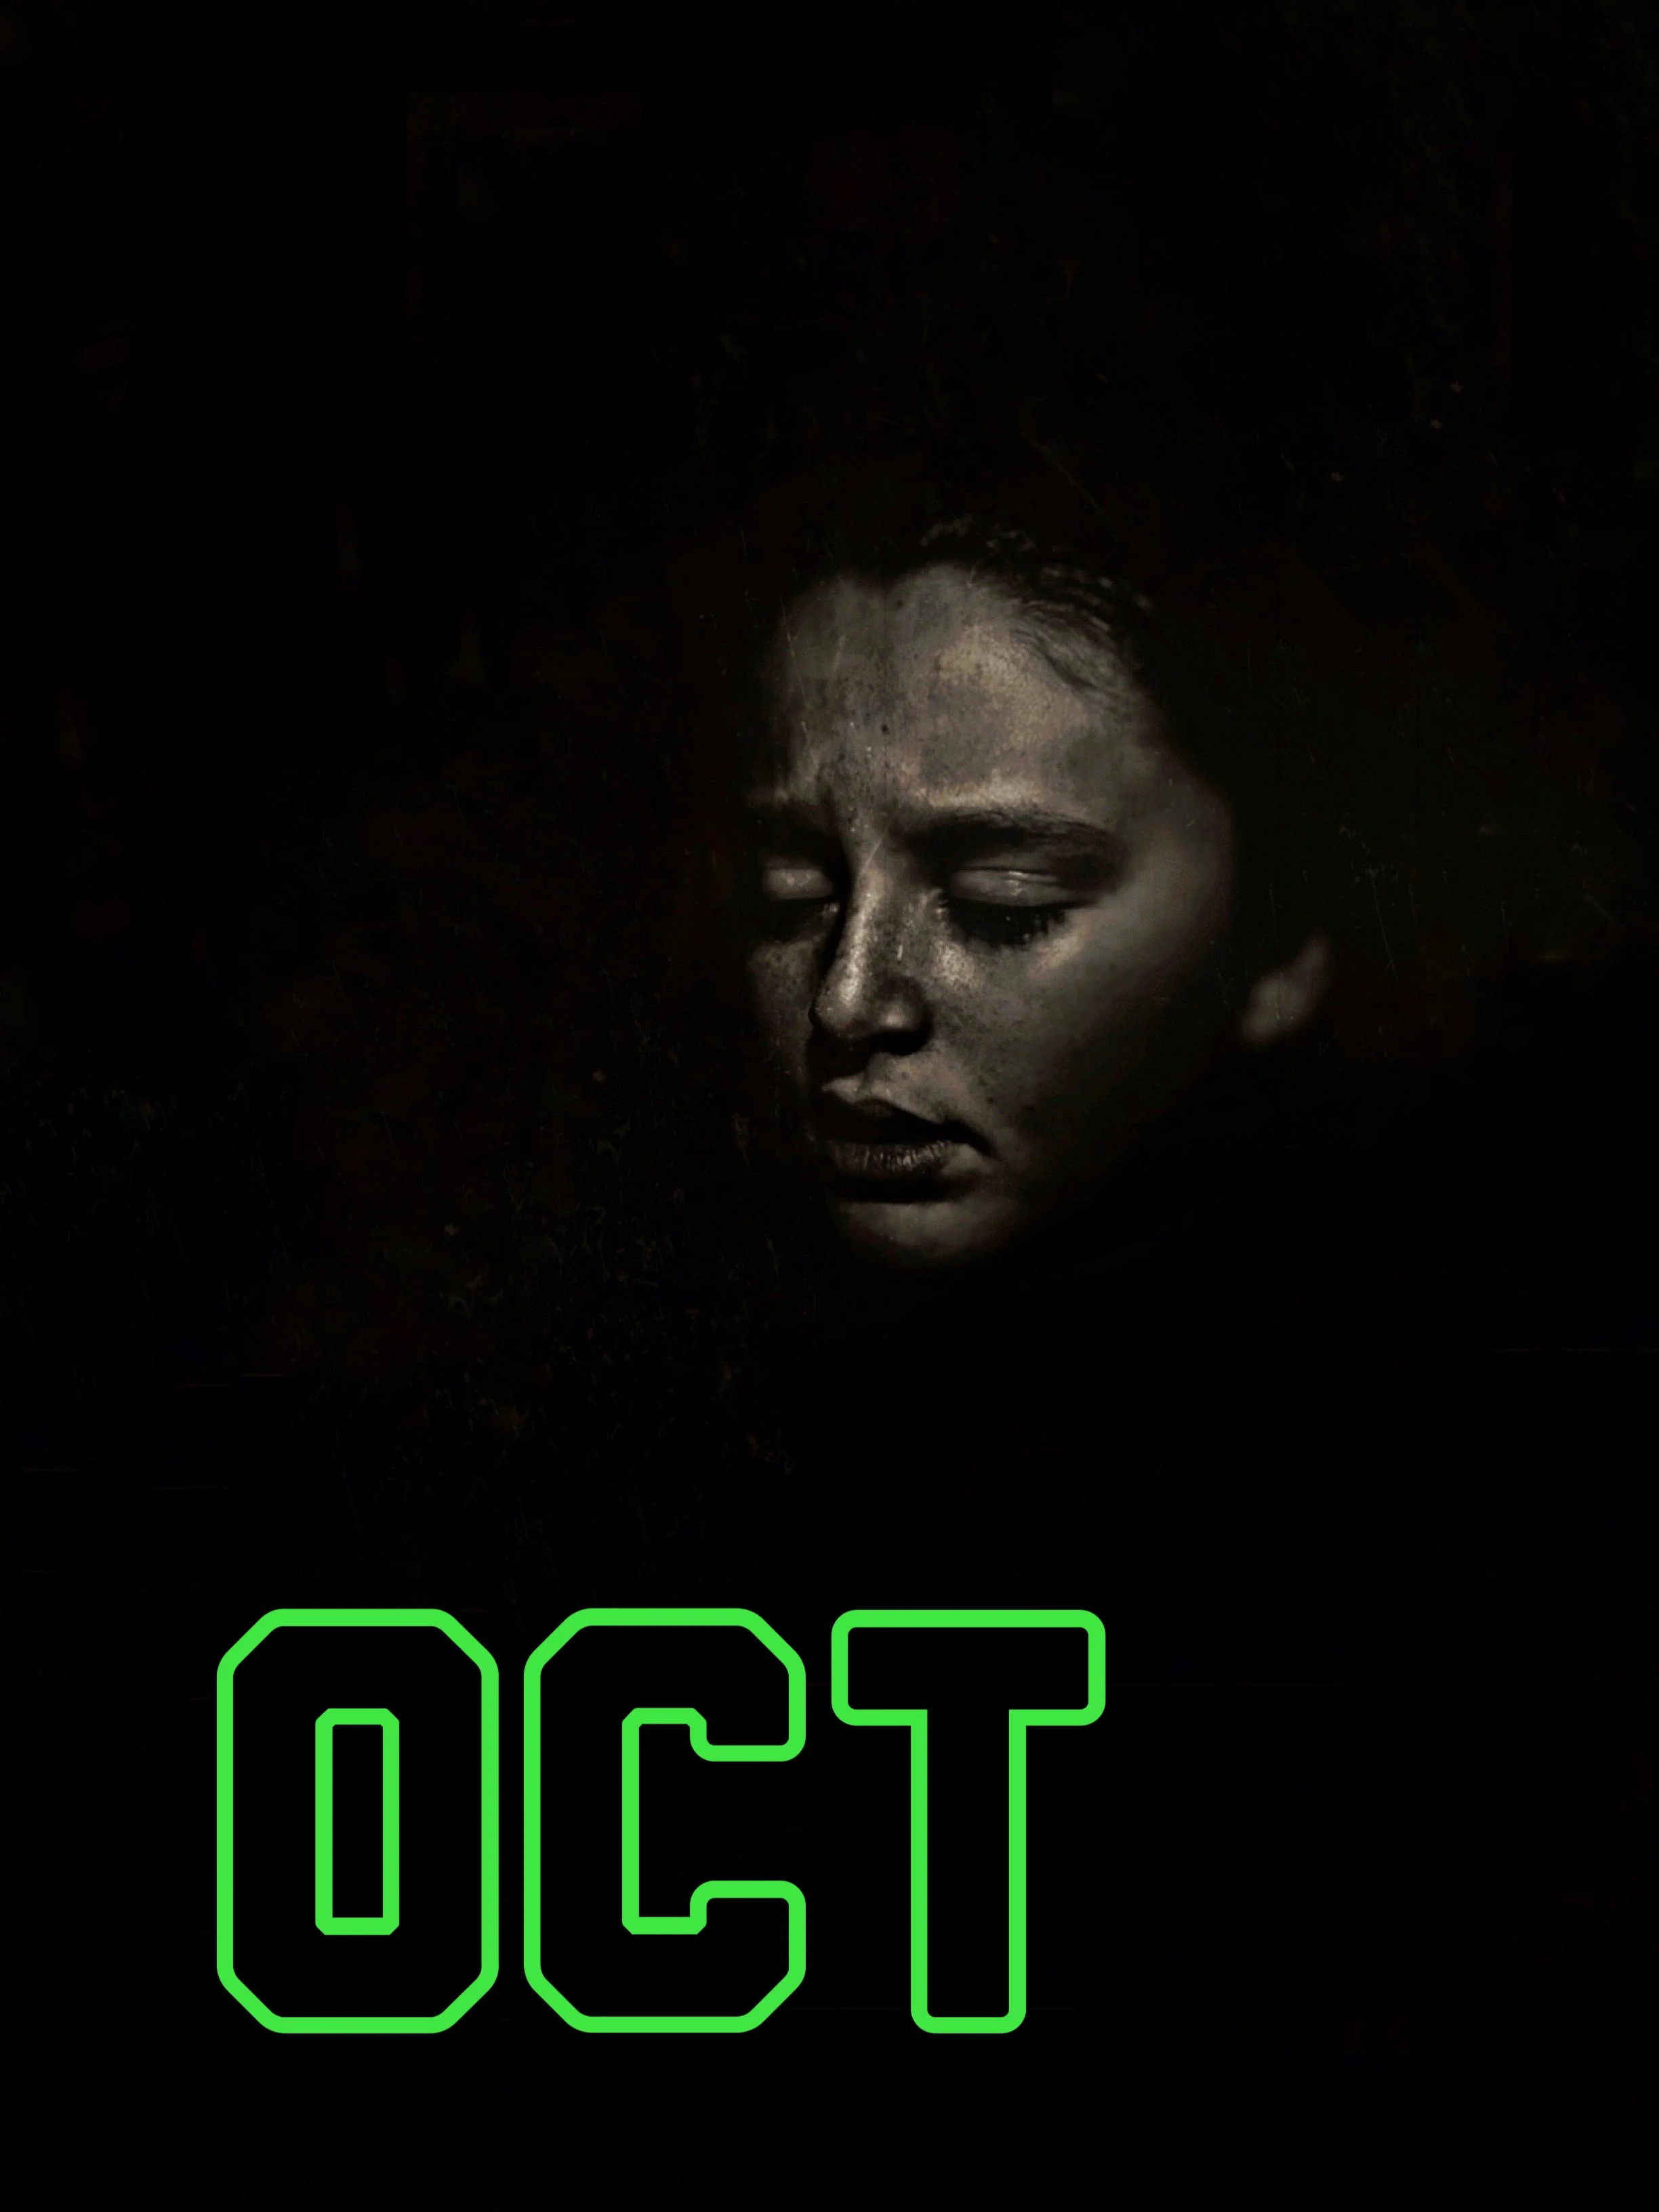
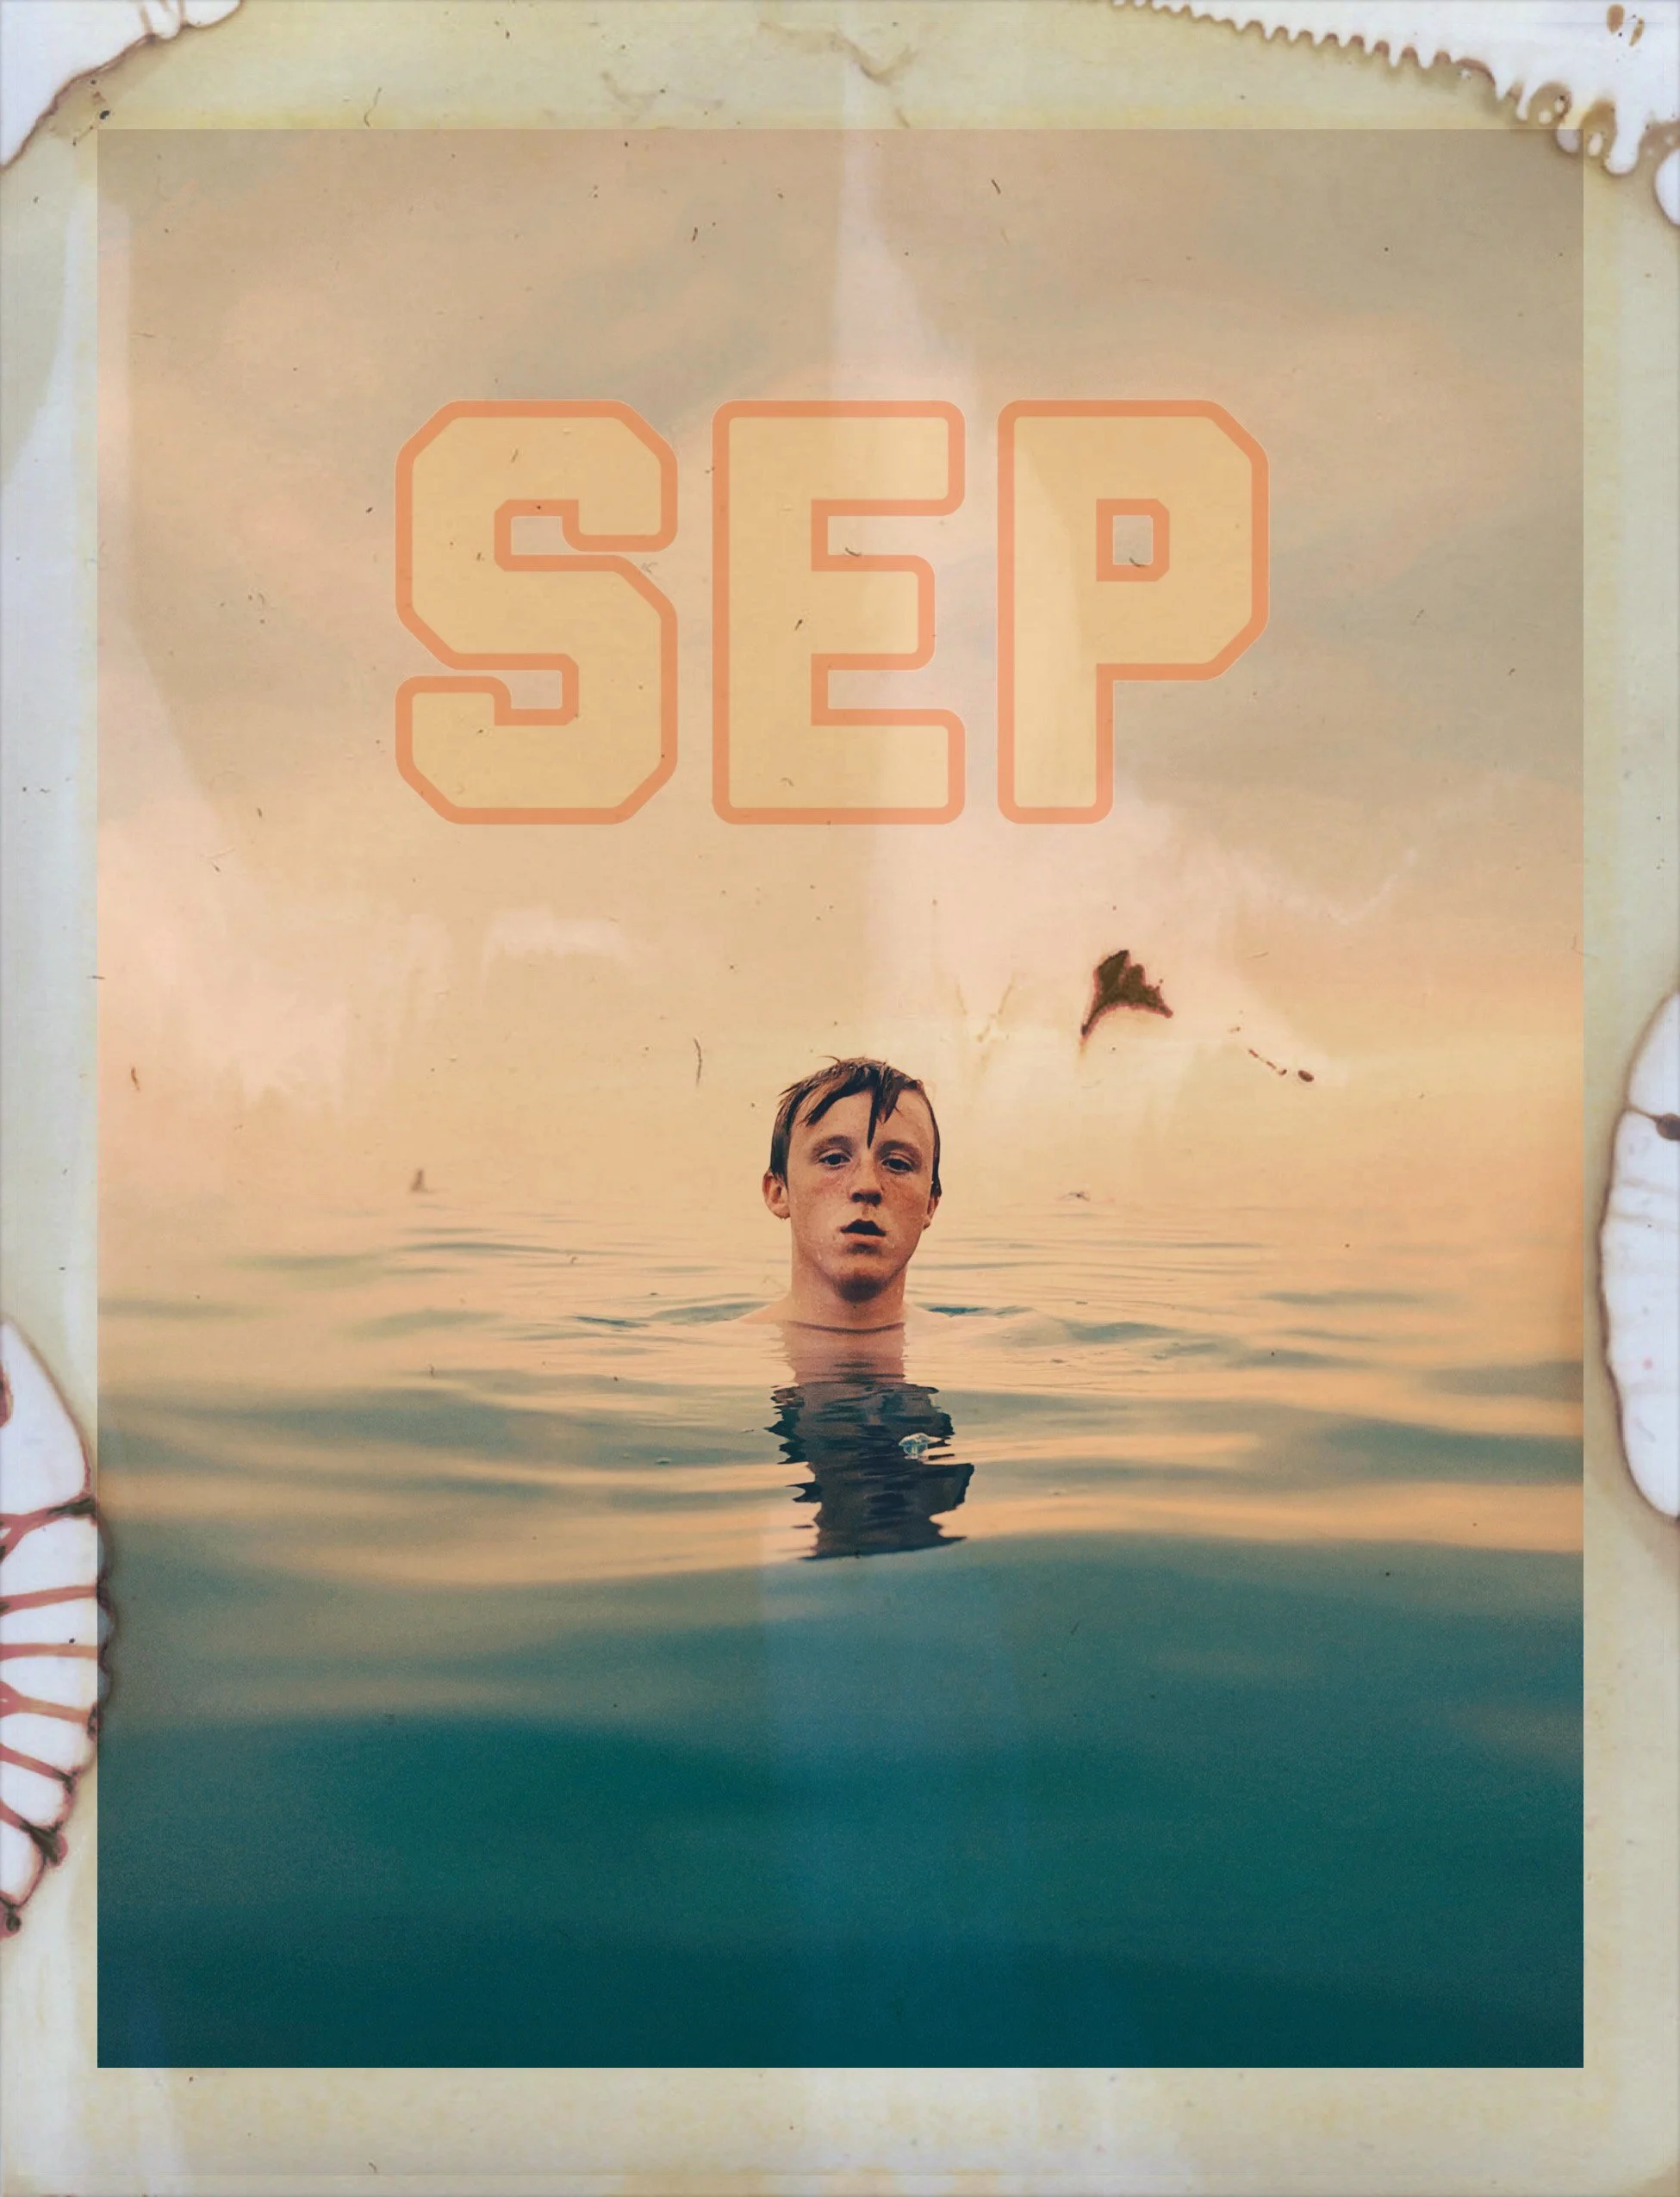
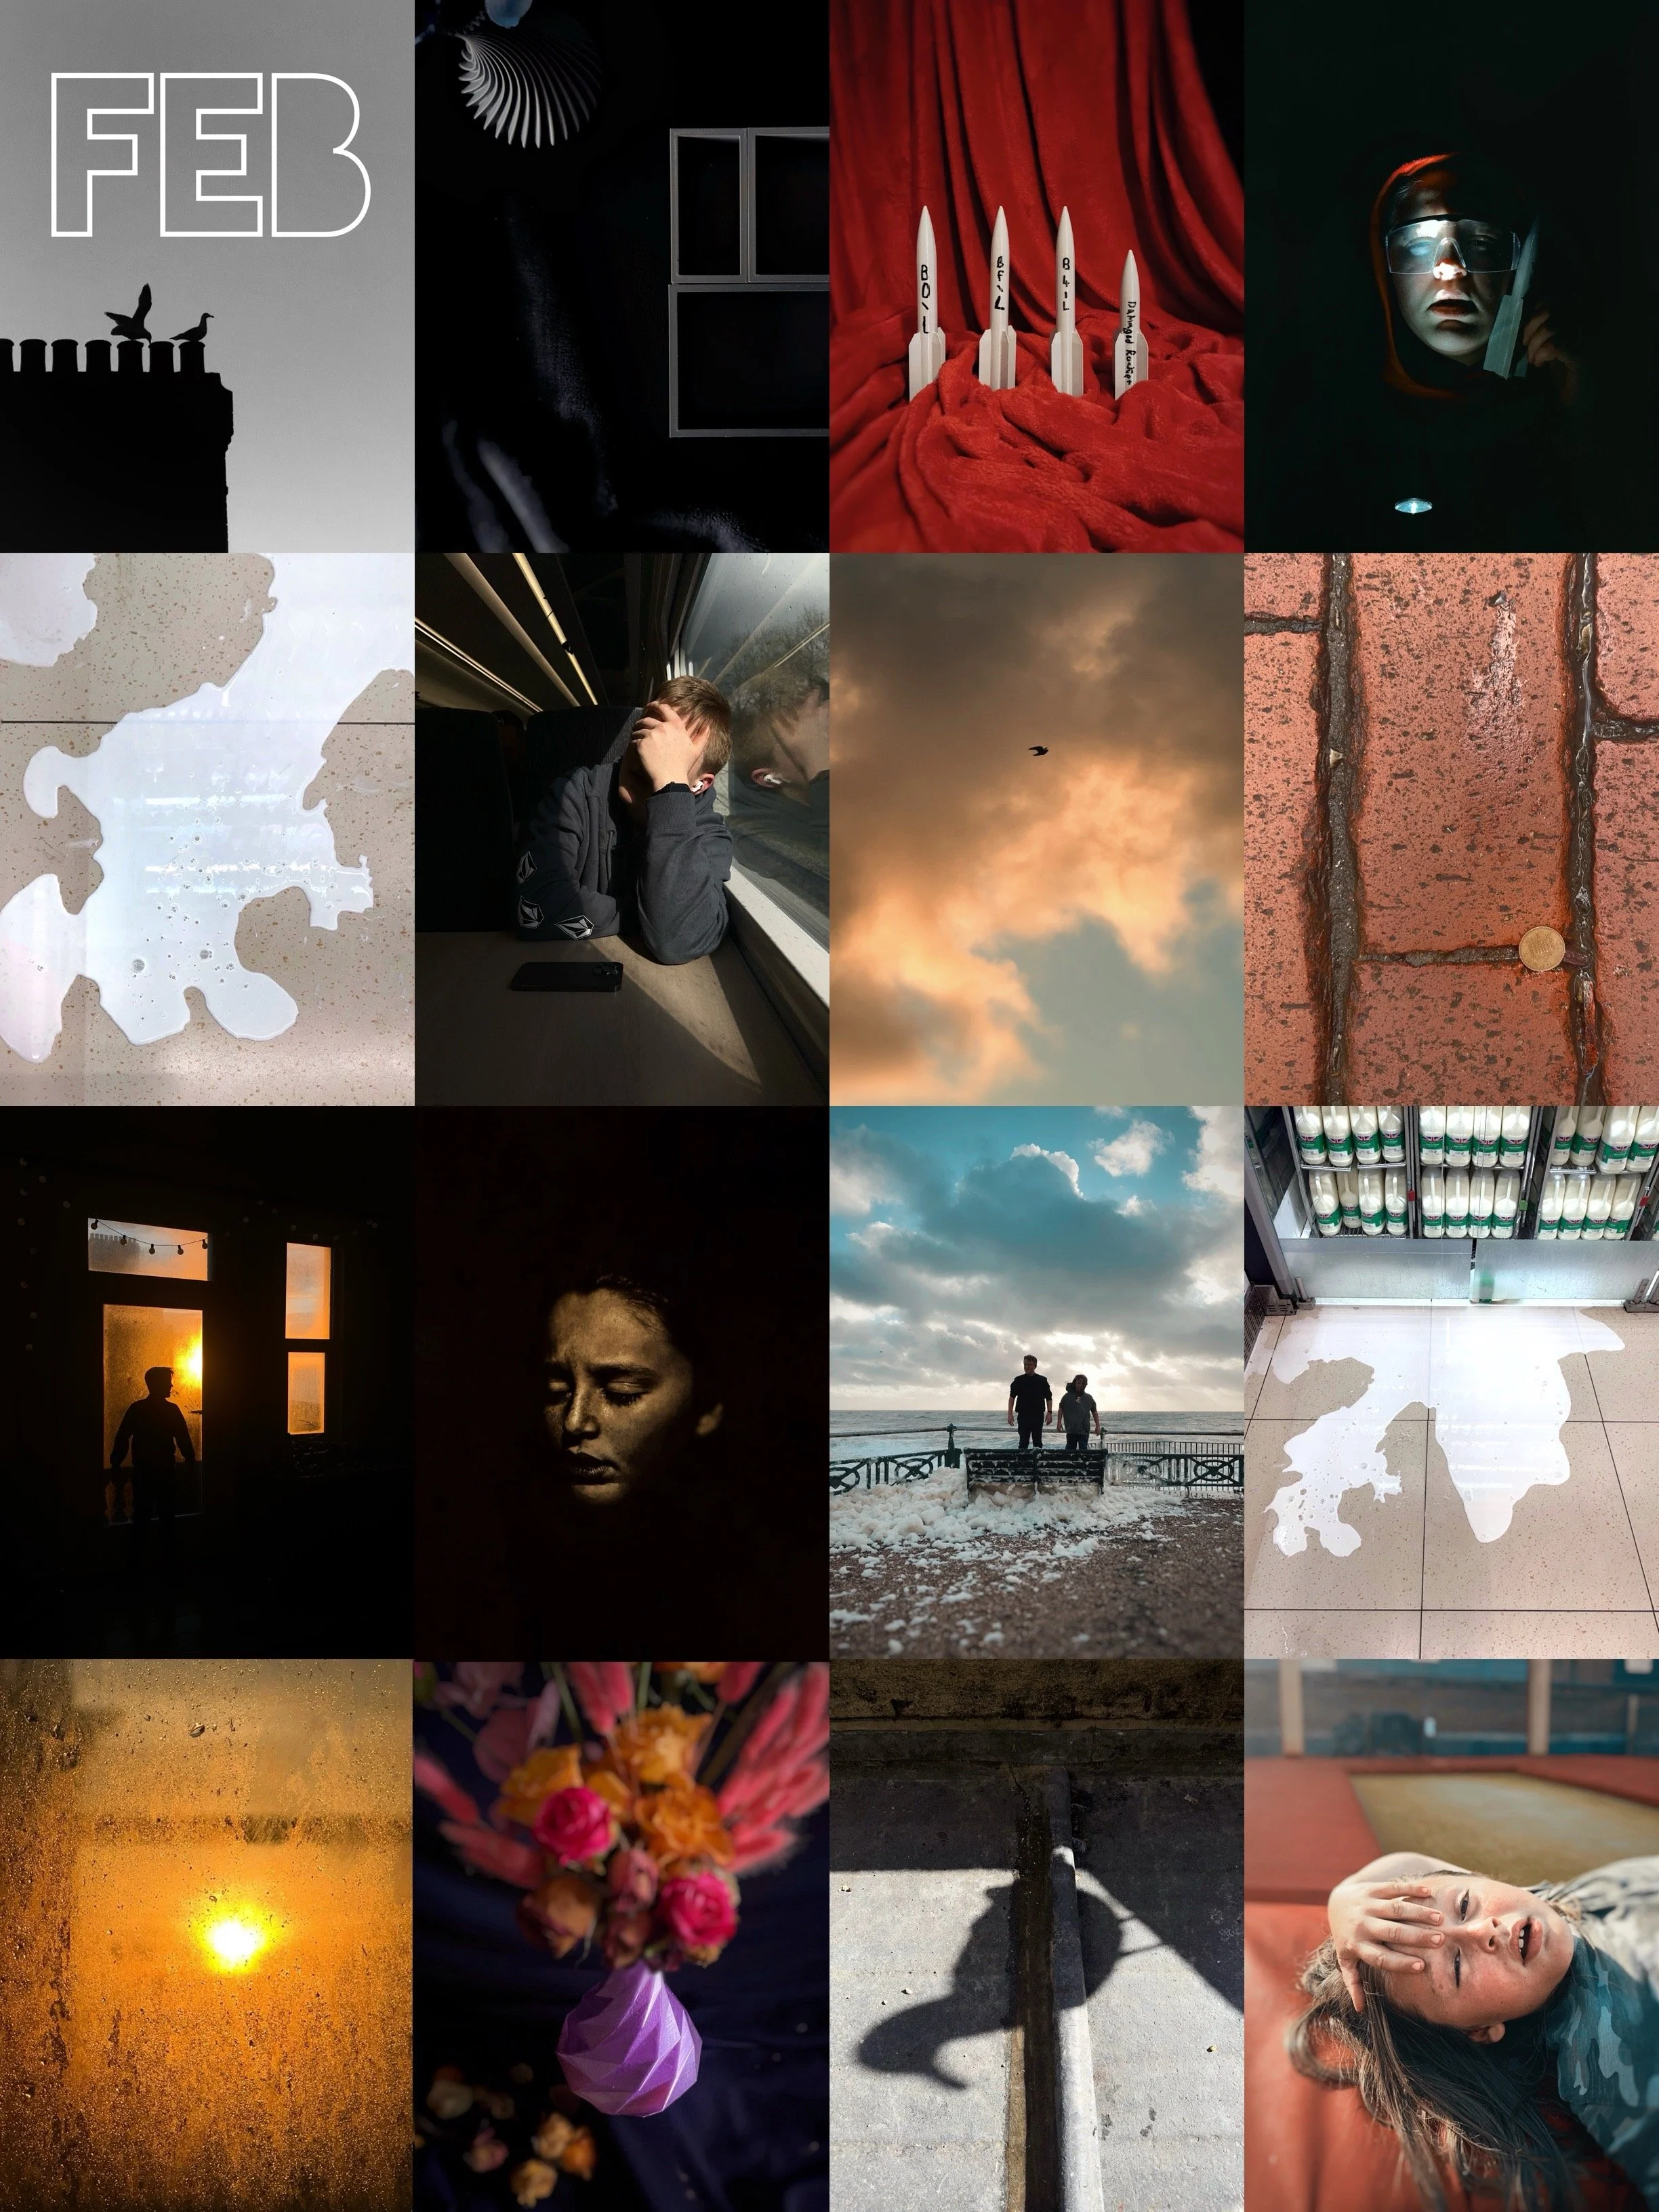
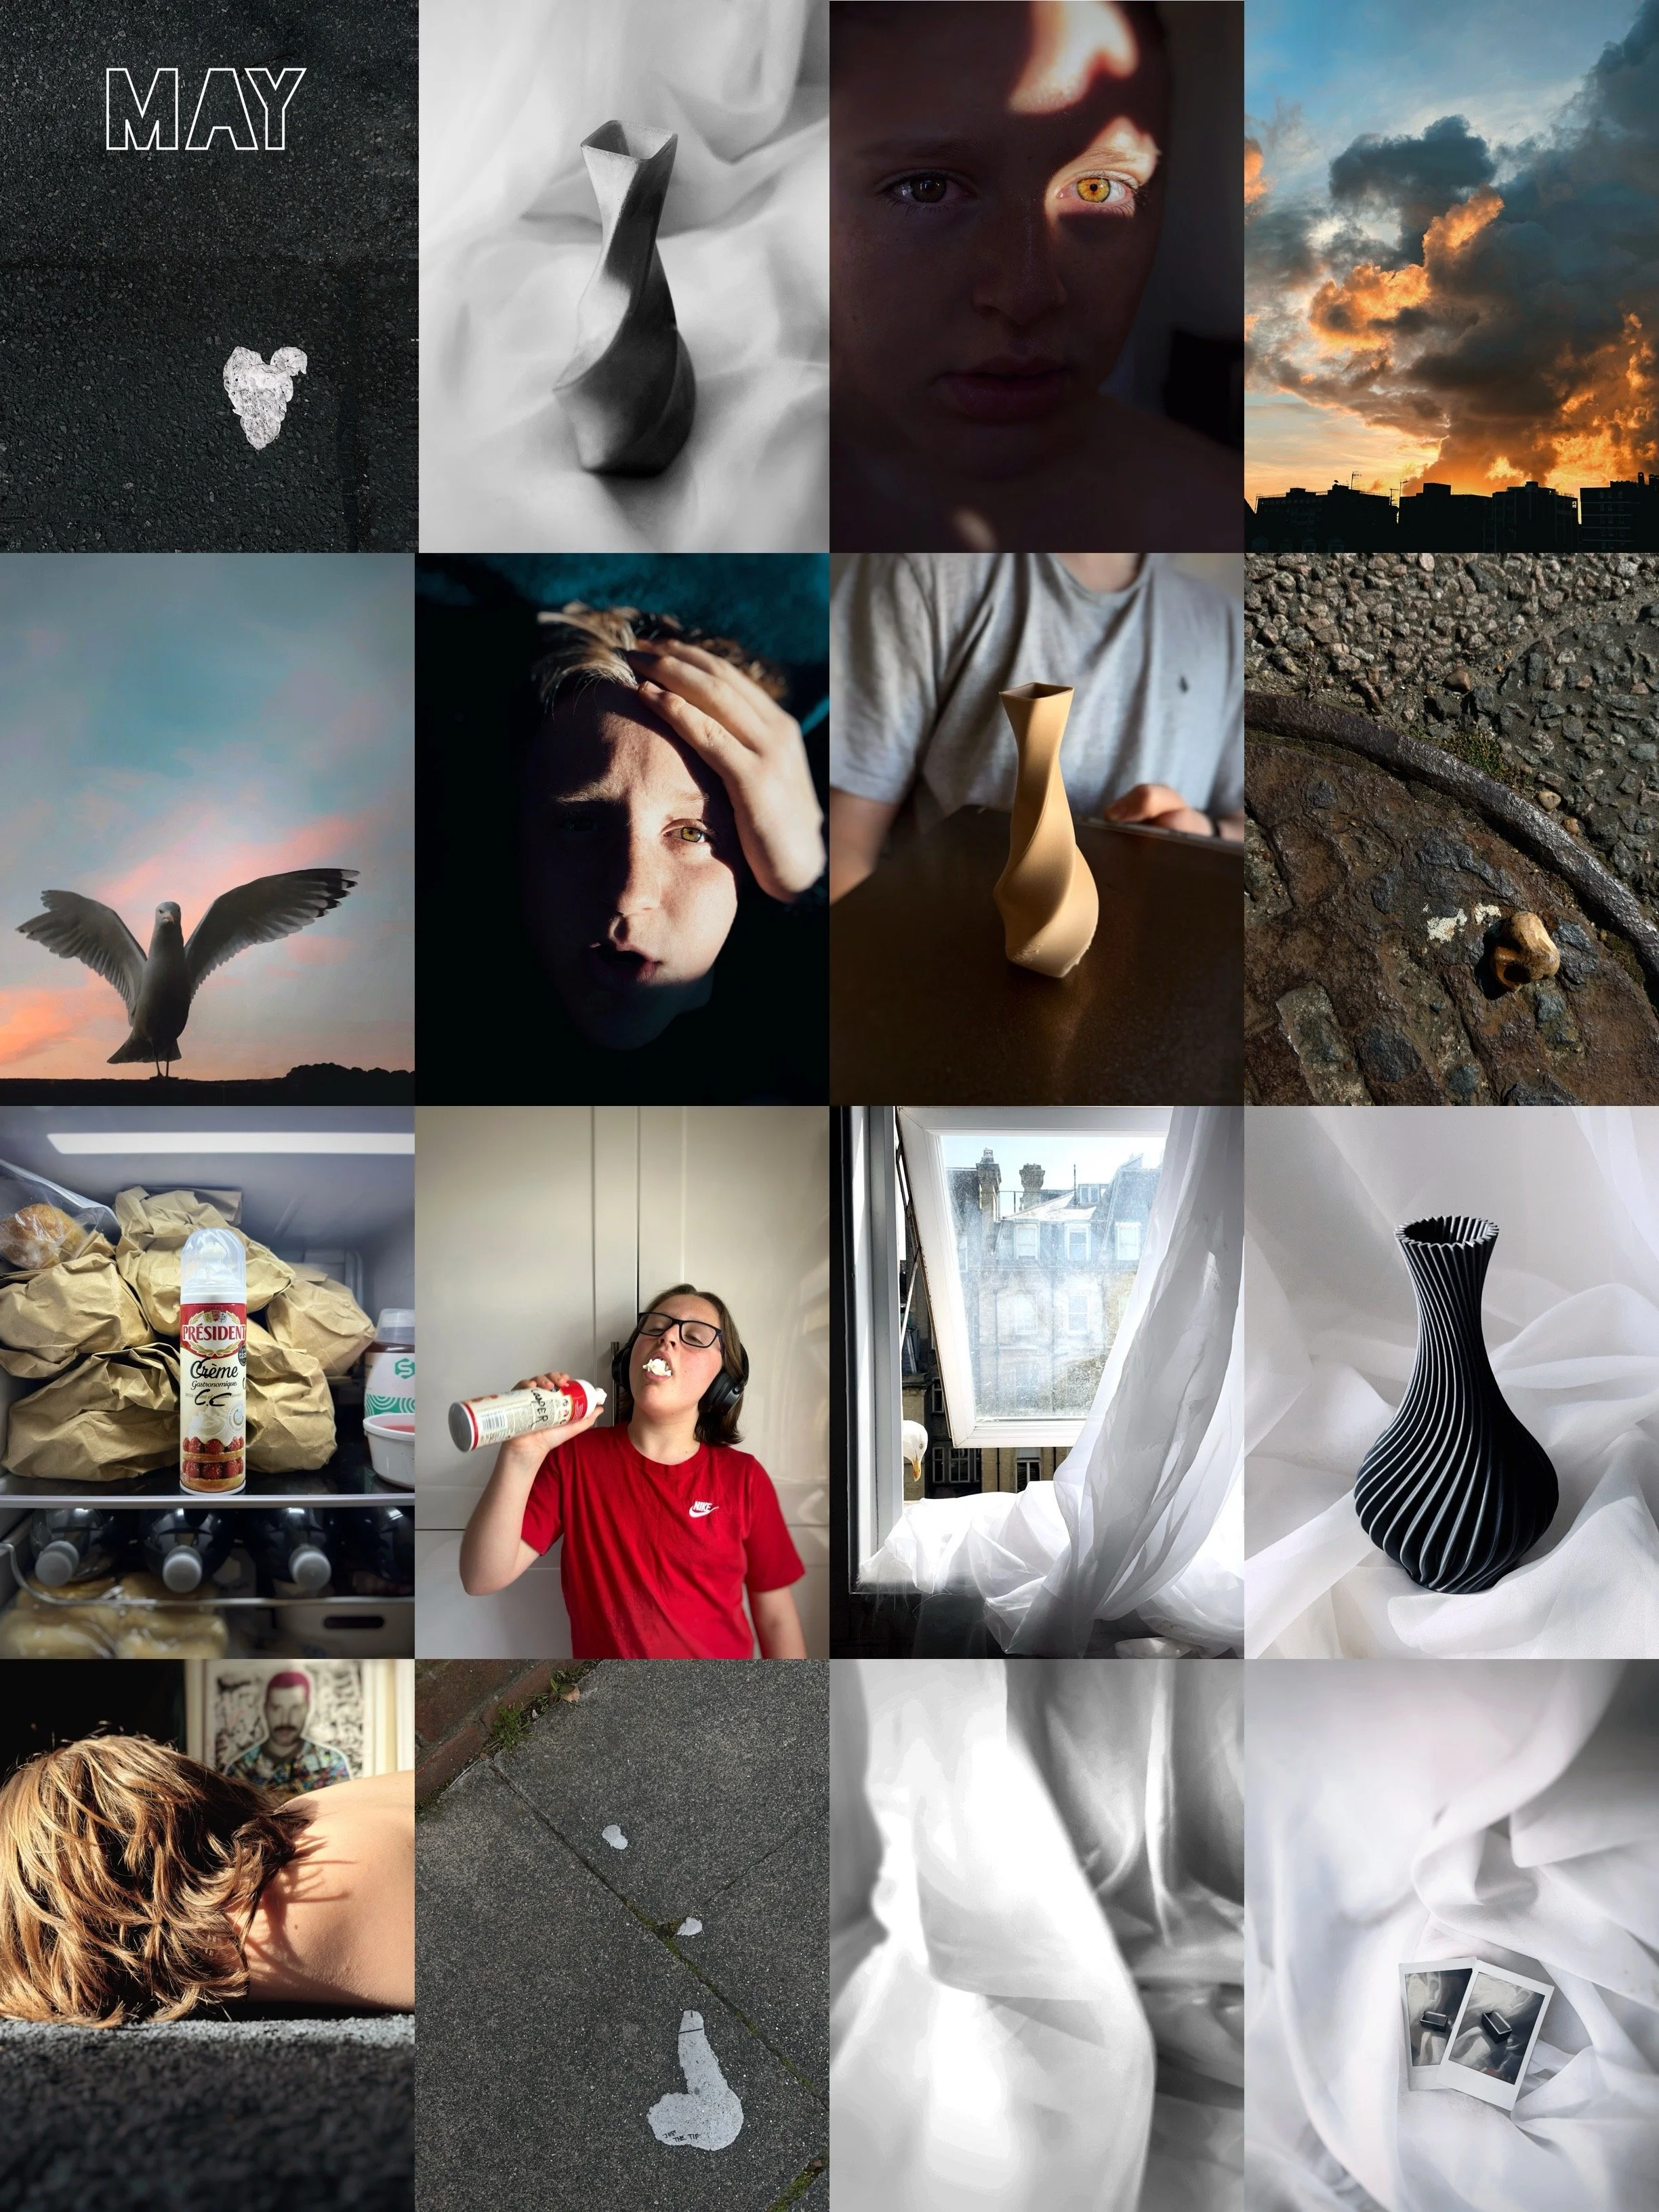
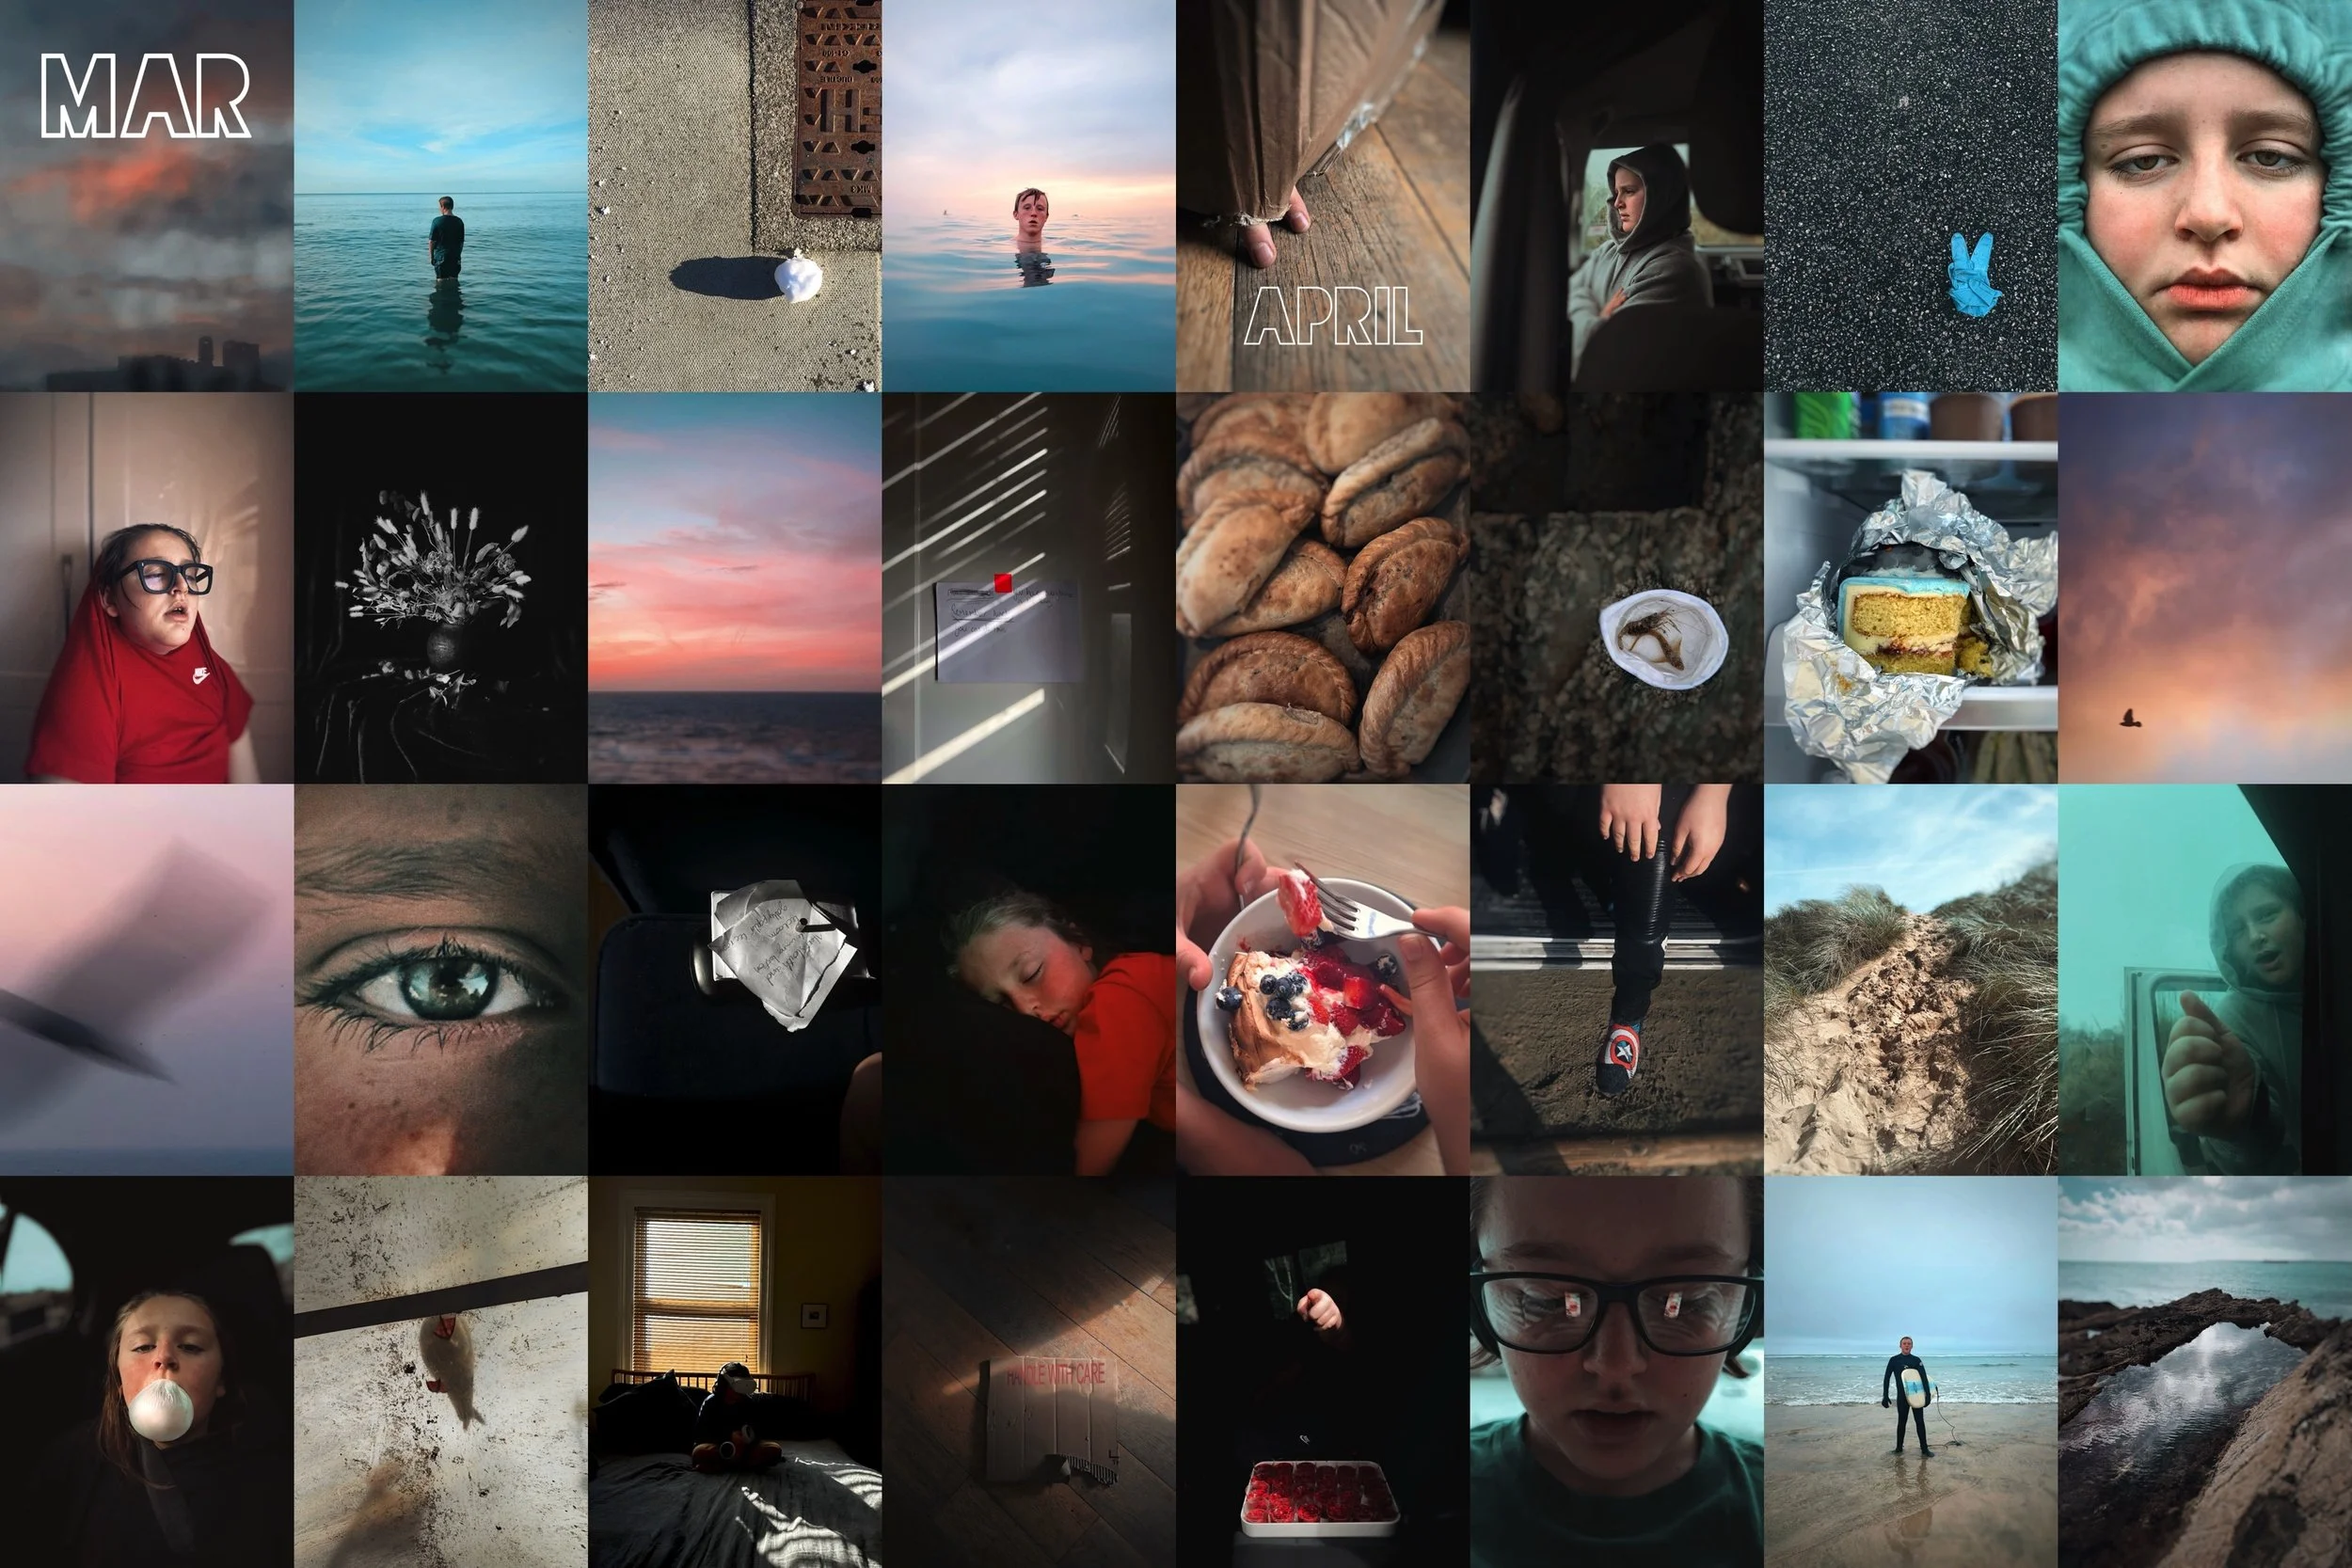
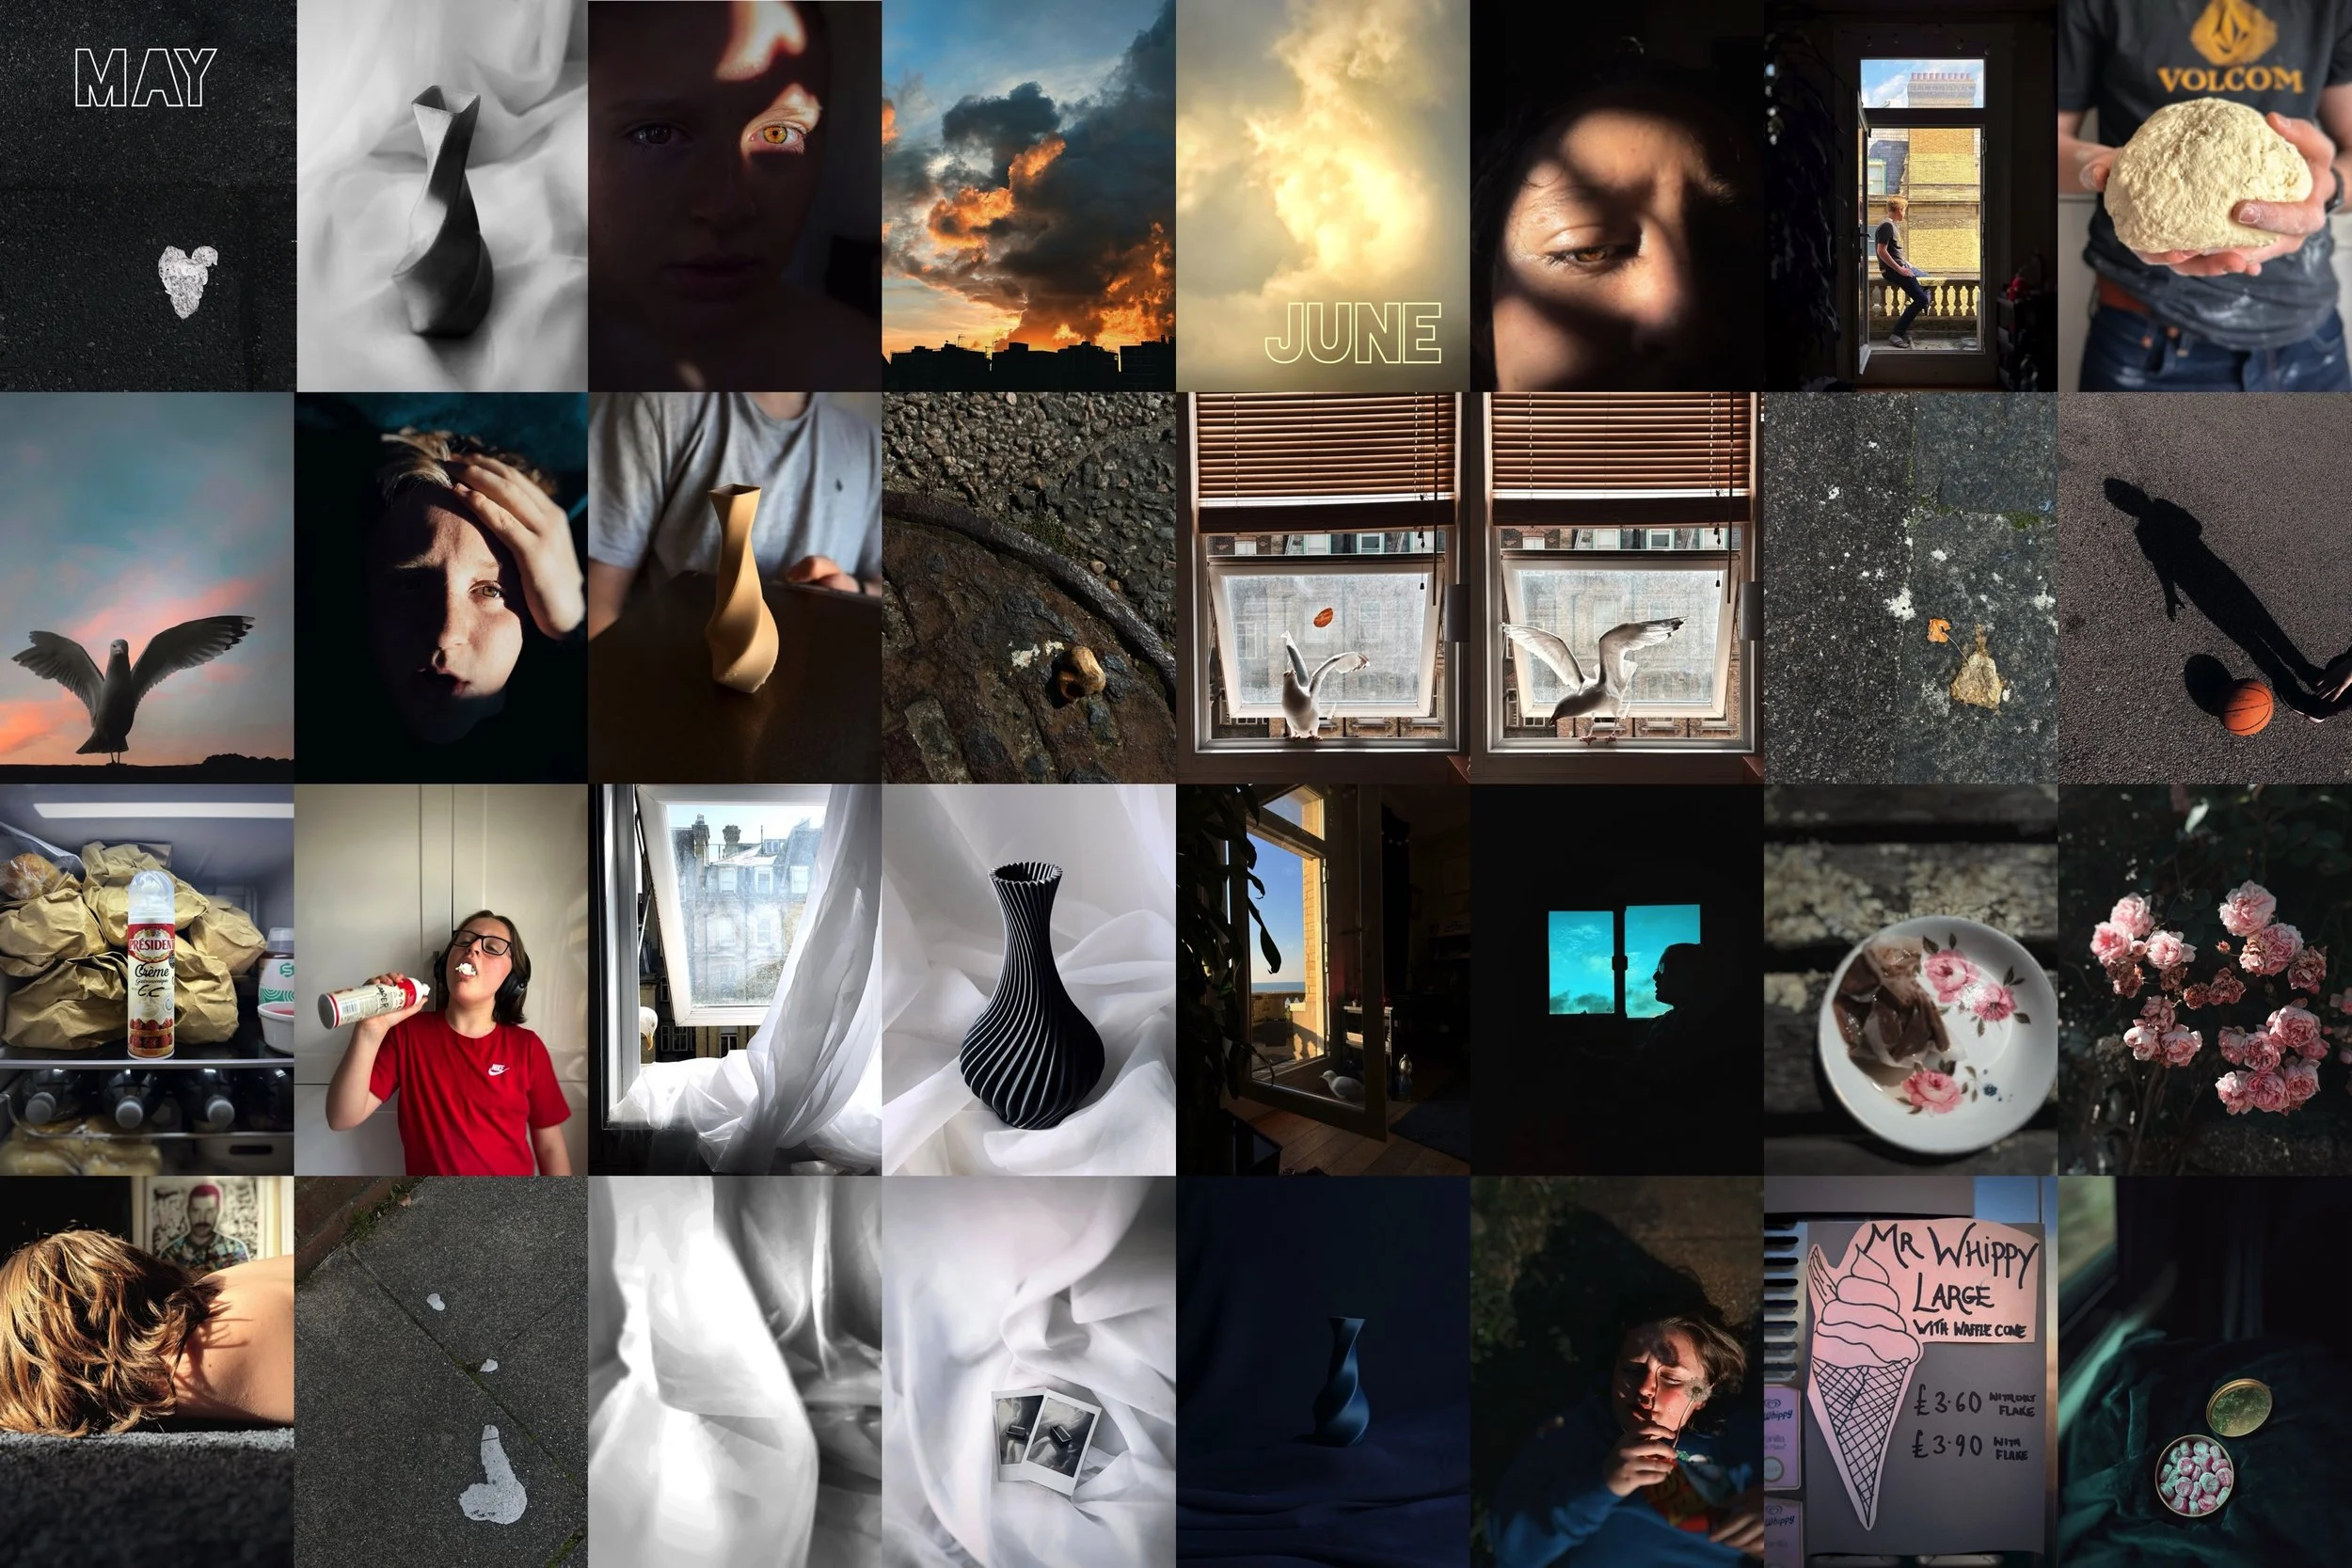
Making A Month.
Picture Editing.
STEP 1.
Picking the right image from the bunch can be an art in itself! So much so that this is an actual standalone role on a newspaper or a magazine. Back when newspapers were the only news source for the public, the picture editors had a very pivotal role. The photographers would shoot the image then send the to the picture editors who would then select a handful to be shown in the paper.
We are going to be our own picture editors.
So at the end of the week we can look at all the images we took that week and select the best ones. We’ll need to pick one of each ingredient of the recipe. One Place, one People, one Detail and one Motion. We’ll want to see which go together best to tell our story.
Remember the story absolutely does not need to be one that is traditionally coherent, as in, to be obvious to the viewer. In fact stories that are ambiguous can be the most compelling. They allow the viewers imagination to be expanded and for them to find stories in your images that resonate with their experiences.
I’ll show you how at the end of the first month.
Making a Grid.
STEP 2.
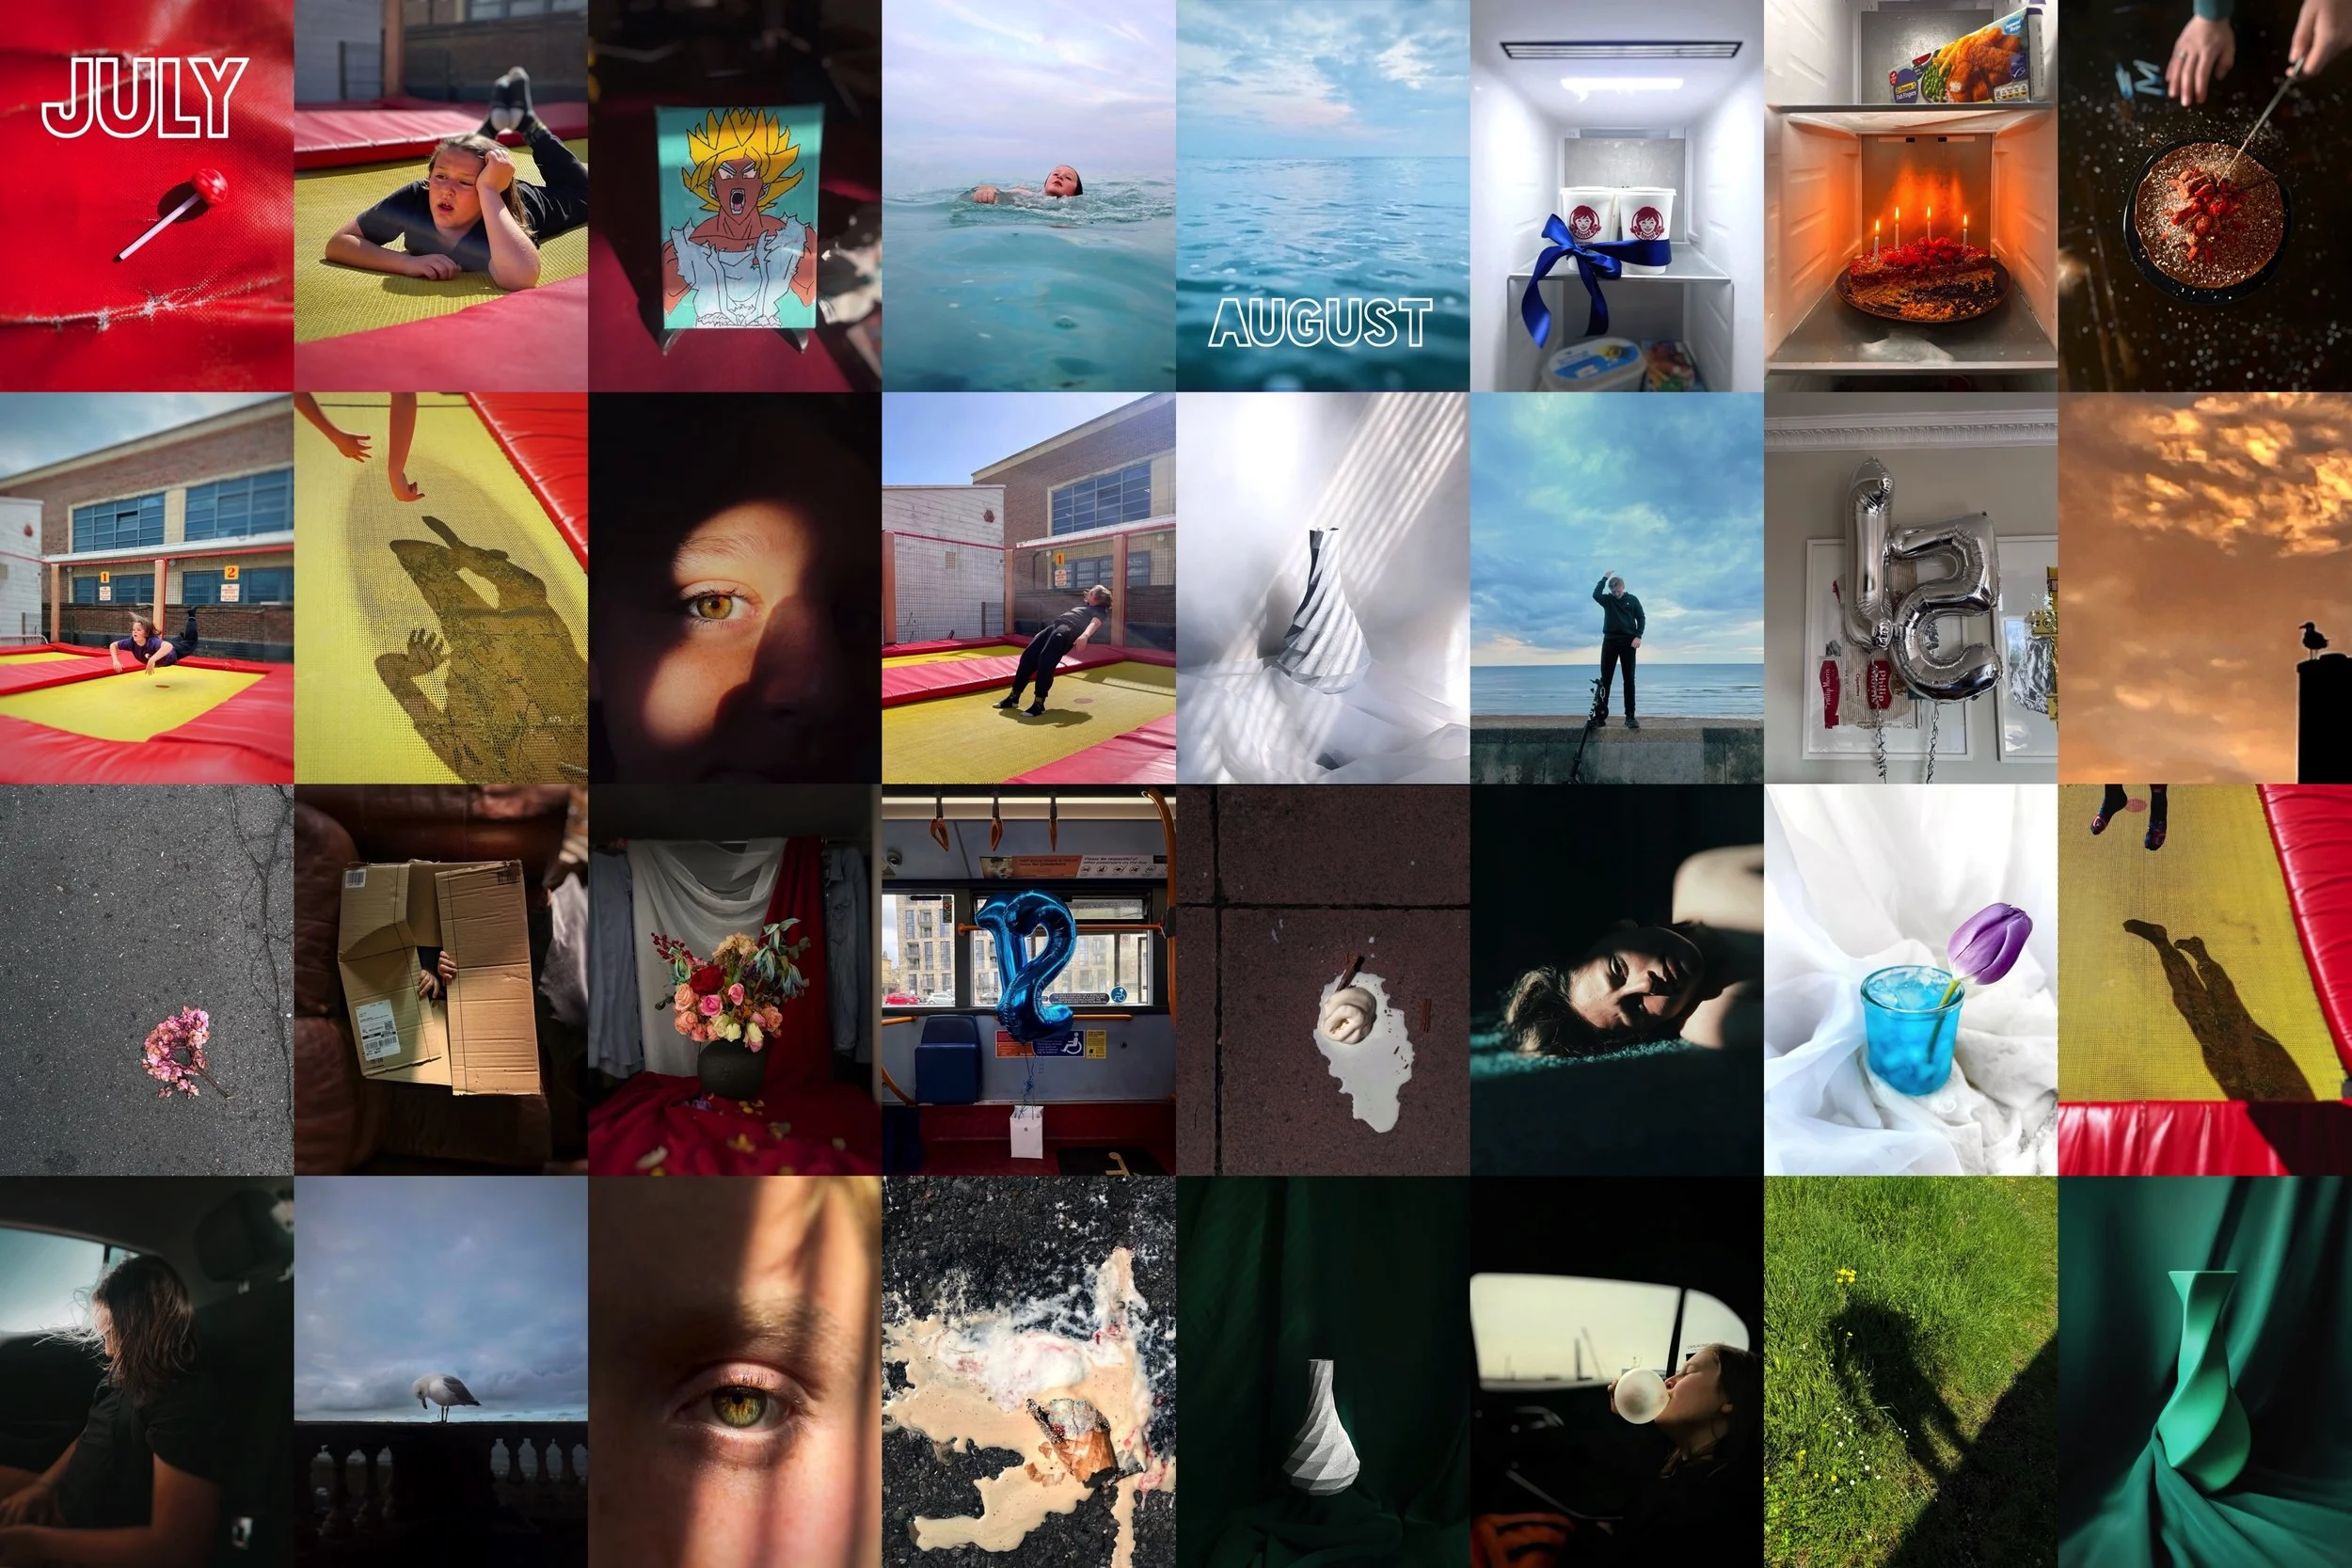
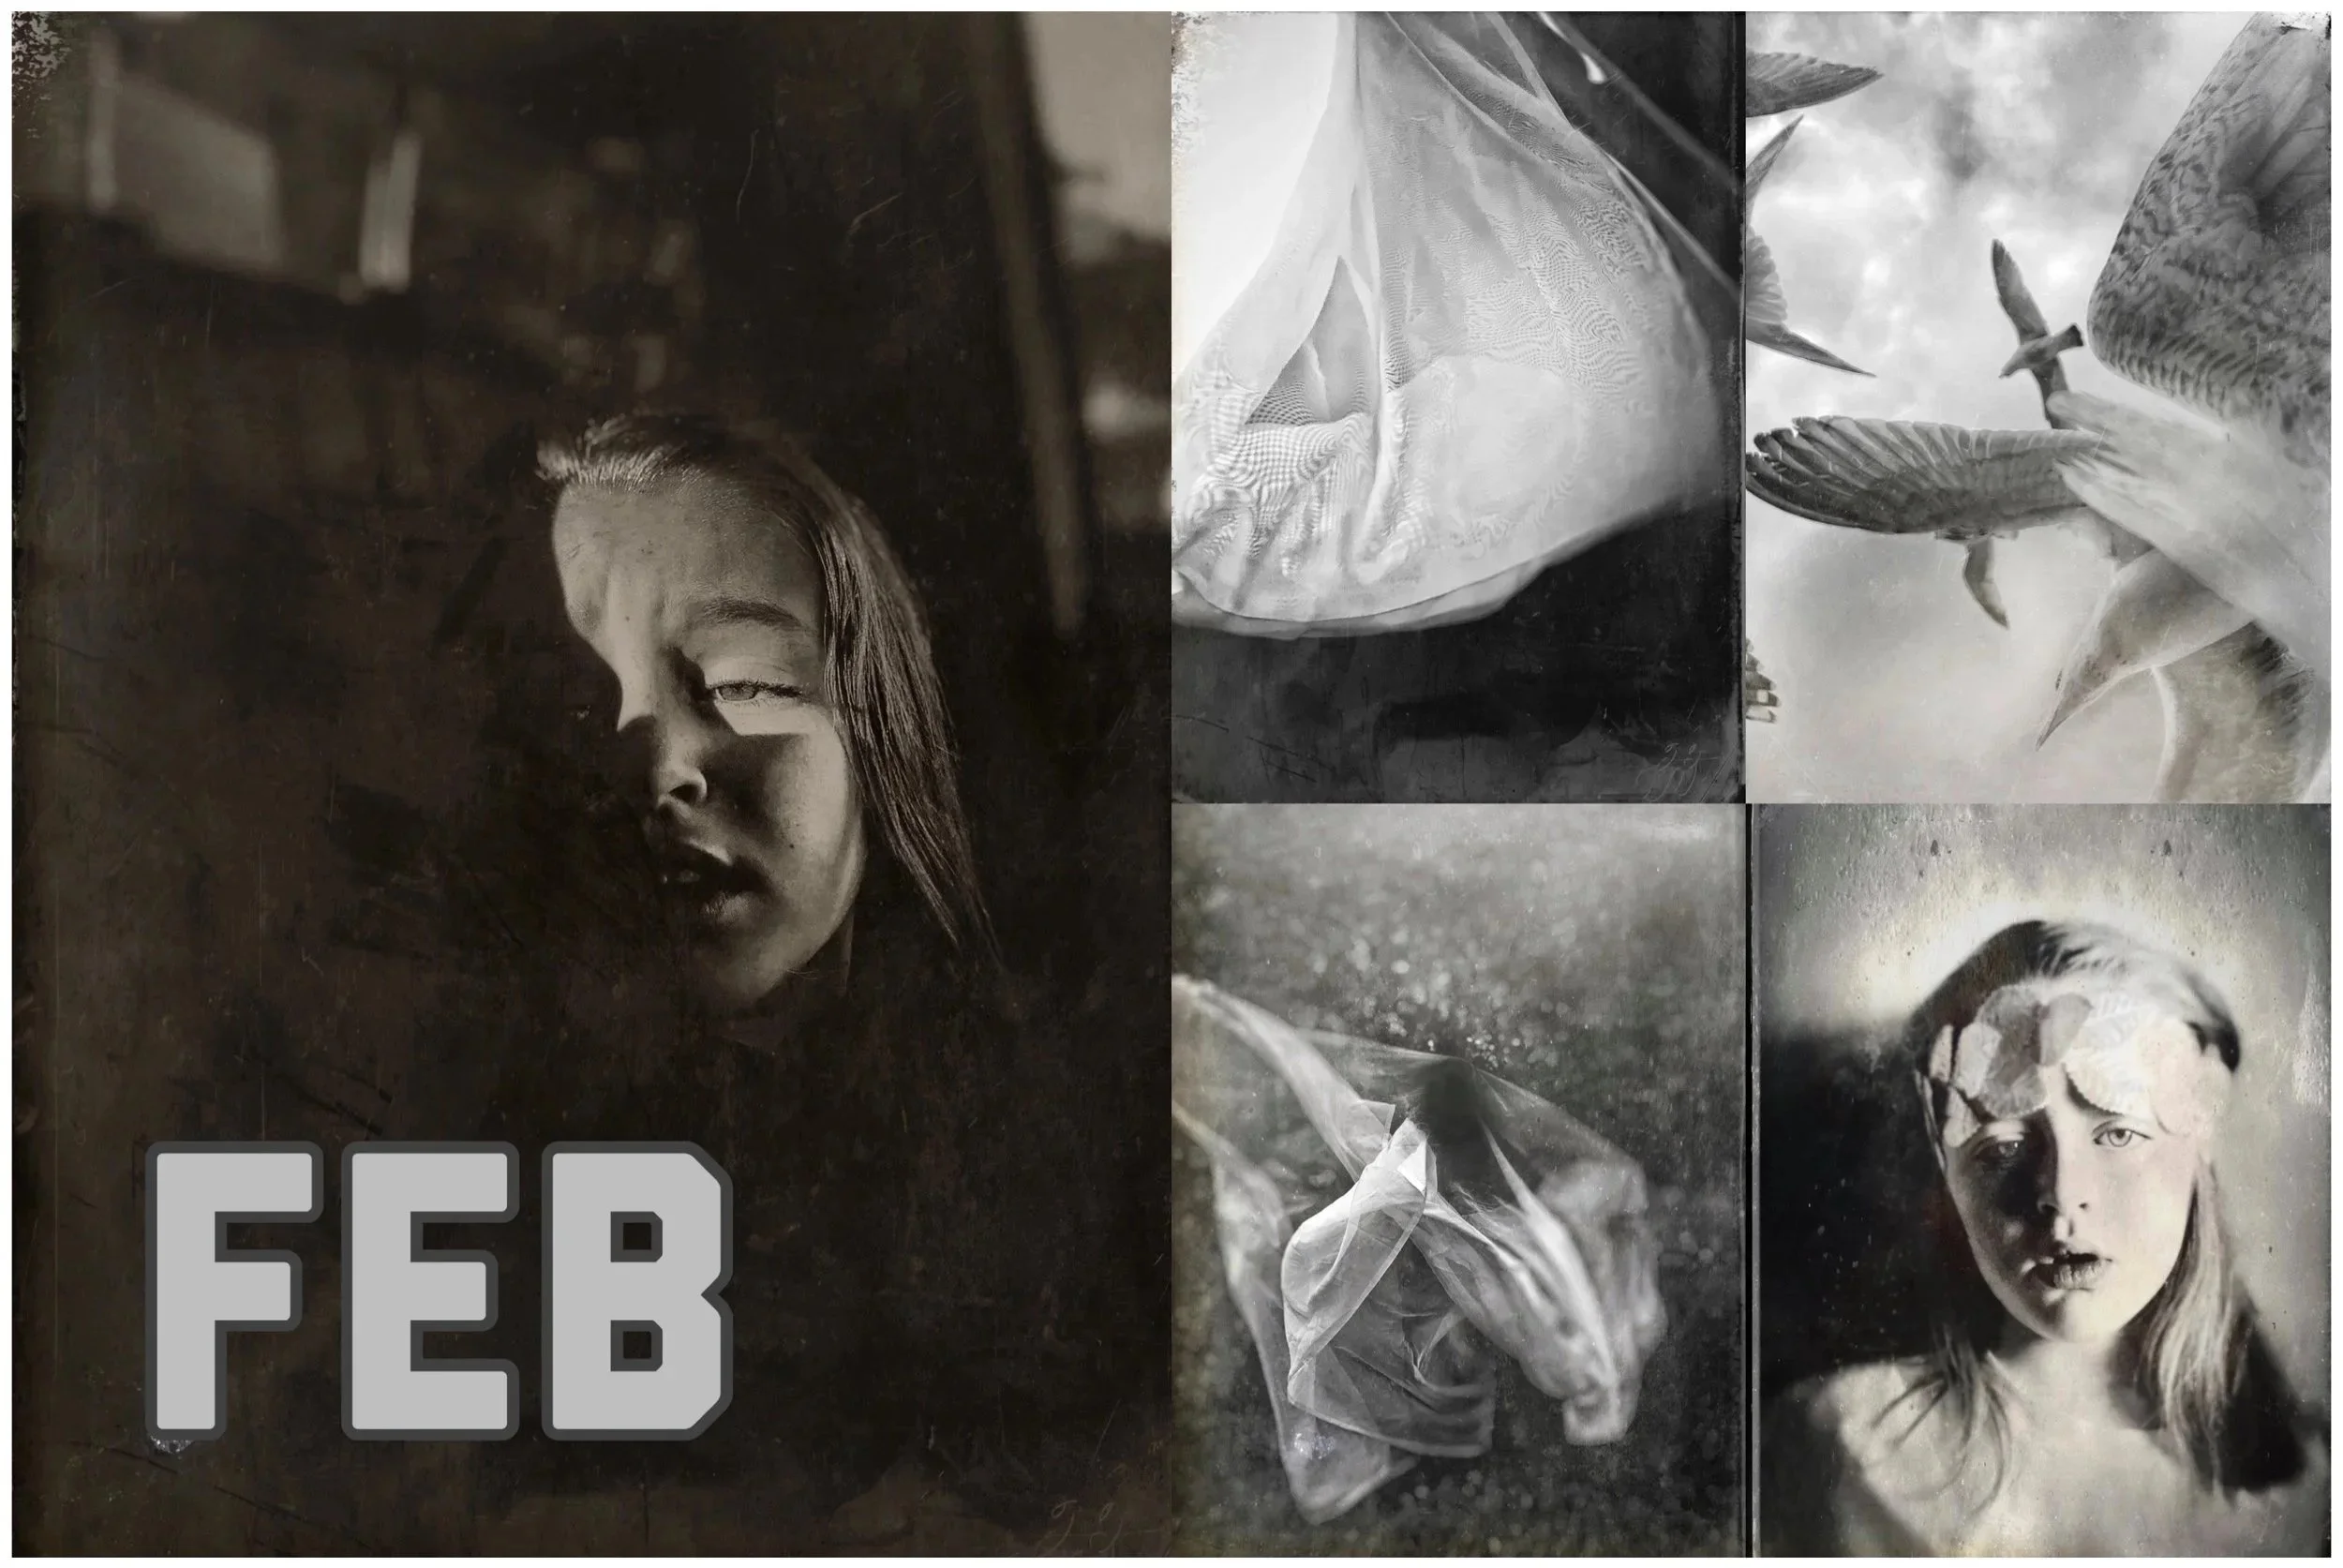
So now we want to put them together, so we have four little week blocks that can make up our month building block. Which in turn, and in time, is going to build to our year. I like to think of it like an old school calendar design and pick one image to be big with the month written on it.
Building Blocks.
I use the app Diptic to put my images together. It’s free and simple but lets you make different size grids of images and also adjust the aspect ratio of the grid.
You don’t need to put your images together this way. If you have something that works better for your work then go for that.
I put the month text on by taking my chosen image into the app Phonto. This is also free and I find it really easy to use. But as we all know there are tonnes of apps that add text so use whatever good for you.
Diptic & Phonto